
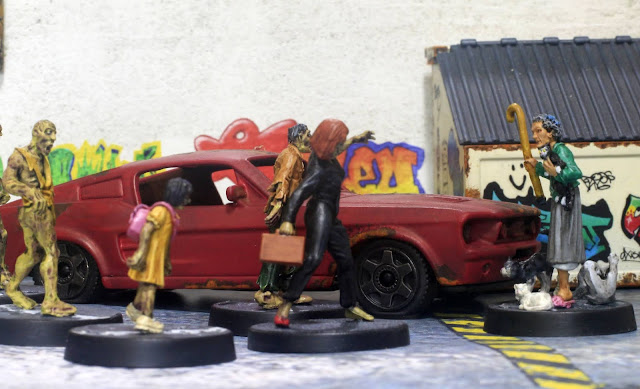
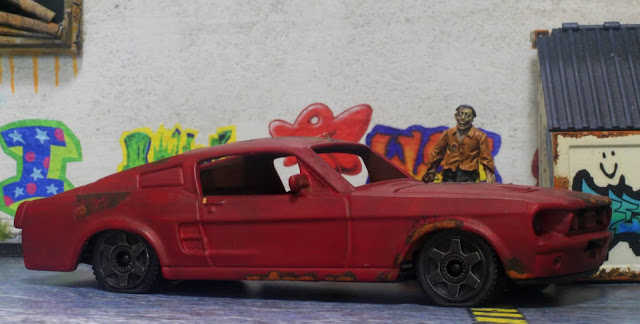
Edna waves her deadly walking stick as the zombie hoard makes its way around an abandoned car behind the convenience store.
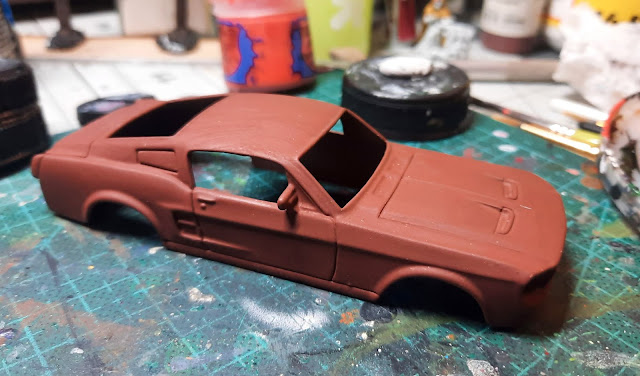
I thought I'd taken a photo of the actual car, but no. Just imagine it having wheels, seats and glass, and painted a nice light metallic blue. In this pic it's been taken apart and sprayed with a rust-brown primer.
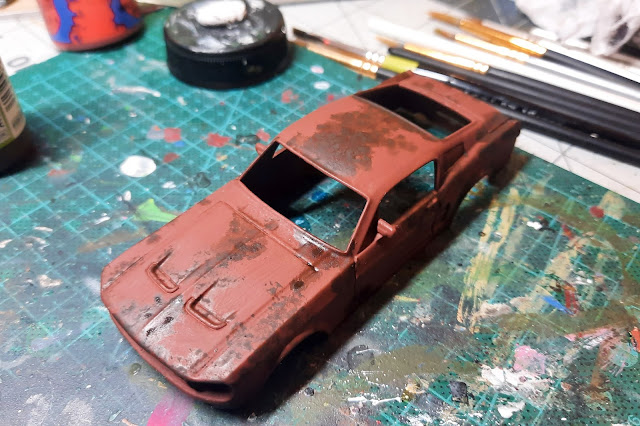
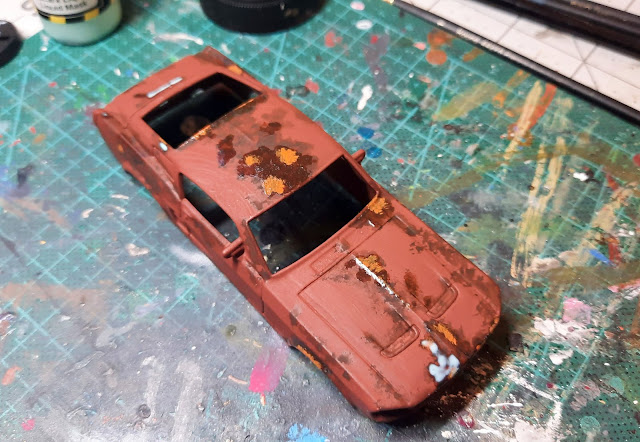
The first step is to daub some Dry Rust onto the areas that (I'm guessing) would collect water or be most exposed to the elements.
The next stage is adding a few dabs of Rust. I've been guilty in the past of totally overdoing this bit so I tried to keep it to a minimum for once.
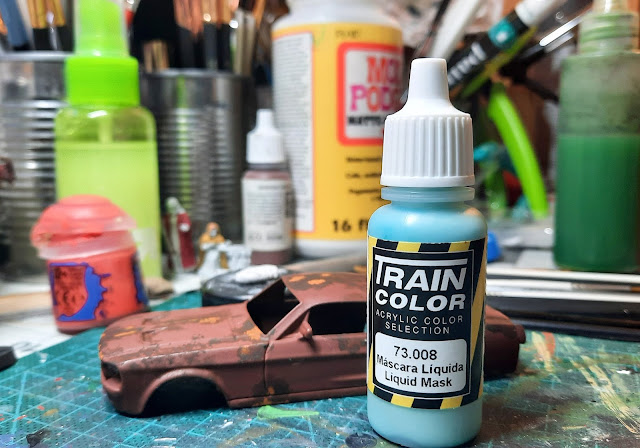
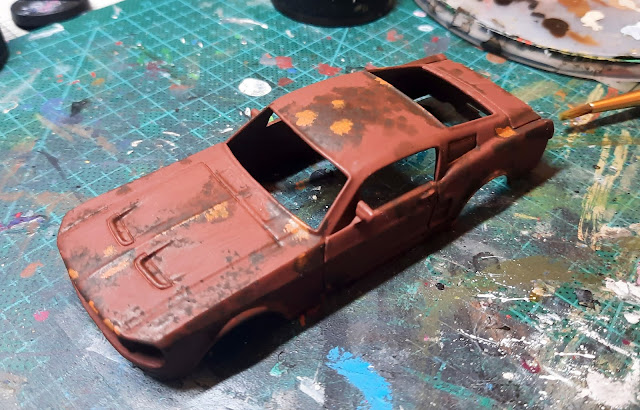
Here's the magic ingredient: Vallejo Liquid Mask. I picked some up months ago after watching this video tutorial and I've wanted an excuse to use it for ages. It's a lot like the chipping medium I used on my fence, only different. You apply it, paint over it, then rub off the paint over the mask. Seems easy!
The mask is a light blue colour when applied but dries transparent and shiny, as you can just about see on the roof. I didn't paint it over every area of rust, just the bits I thought would look best.
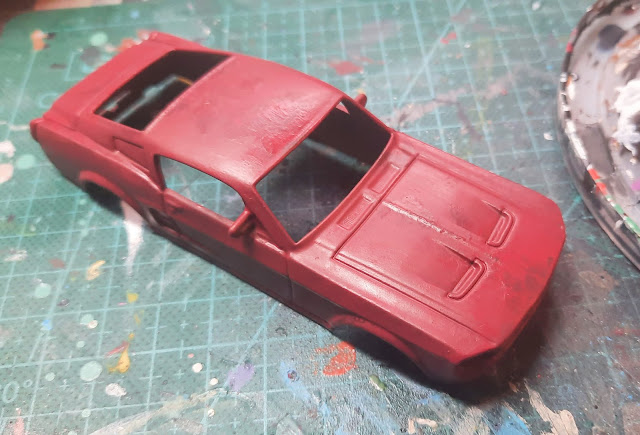
One thing about the mask is that it doesn't actually dry; it stays tacky for ages, so after an hour or so I decided to apply a coat of paint. I went for Flat Red to give the impression that the bright red colour has become dulled thanks to the weather.
I mixed a little drop of flow improver into the paint and applied it with a wide flat brush, making sure the strokes always went from front to back. You can just about see the mask under the paint on the roof and bonnet.
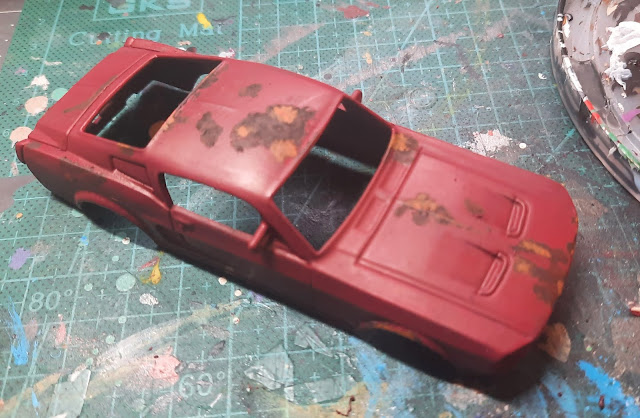
Once the Flat Red had dried the moment of truth arrived: removing the paint. The guy on the Vallejo video wears a latex glove, but despite having a girlfriend who's a nurse I couldn't find any so I just used my bare fingertip. Thanks to the masked bits being slightly raised they were easy to find, and incredibly easy to remove leaving the rust showing through.
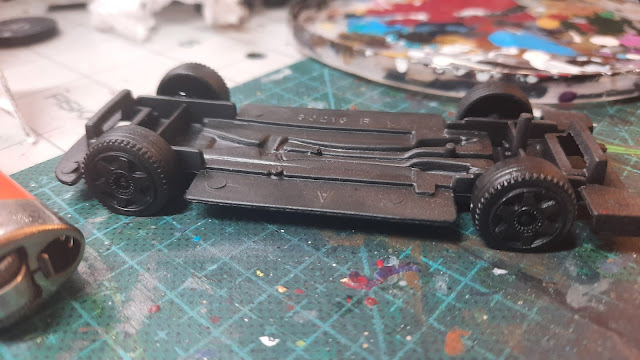
The final stage was to superglue the wheels in position, and then flatten the tyres by heating them with a lighter and pressing them down onto a metal ruler. I cannot emphasize the following the words enough: DO THIS OUTSIDE. I stupidly did it in the spare room and ended up feeling like I'd just smoked four packs of unfiltered Marlboros.
With the tyres suitably flattened I reattached the chassis using superglue and left it to dry.
So that's my first entry for Apocalypse Me, and I've had an idea for another one that for once doesn't involve a classic car.
Great work on the car Matt, like that you keep trying new techniques that will just keep adding more tools to the box. Great choices on the flat colour, as paint does indeed fade, and can't imagine anyone polishing their car with zombies around ! LOL
ReplyDeleteNice safety notice after inhaling all those fumes yourself ! LOL
Thanks, Dave! It's always nice to learn and use a new technique, and using liquid mask is so easy that it'll definitely get a lot of use. I only wish I'd shaded in some of the car's panel lines but I can do that at a later date.
DeleteThe fumes were bloody awful and I had to open both windows in the spare room and shut the door immediately after melting the plastic. It was pretty dumb of me because I've done it before but obviously didn't learn my lesson LOL
I like it and the rust effects are super good! Question tho, why no windscreen or car windows or remnants thereof?
ReplyDeleteO and the flattened tyres … bloody brilliant. No idea why I didn’t think of that. I have a diecast taxi I’m going to attempt that on
DeleteI picked up the flattened tyre trick somewhere online, and it really does work well. Just remember to do it outside :-)
DeleteI think the cars look more post-apoc without glass. Also, you have to do something about the shininess such as spray it with matte varnish, and to be honest I couldn't be bothered.
DeleteOf course, the fact that I lost the glass bit probably didn't help LOL
Nice work mate, does look really good, perhaps a bit of a dry brush with some sand or dry earth colour up by the wheels arches for weathering? Nice idea with the flattened tyres, and the glass being missing does look more apocalyptic, and the interior being missing means the wheels sit higher in the wheel arches that helps the look too.
ReplyDeleteCheers Roger.
Thanks, Rogert! Yeah it does need some weathering, or at least maybe a once-over with thinned black wash.
DeletePainting up some car terrain is on my to-do list so its inspiring to see what you've done here. Its a shame what happened to the Mustang in the apocalypse too. Those aren't bad cars even if they aren't as popular as they used to be. One thing you might try for rust on future vehicles is to get some foam and try dabbing paint on with that. Its really easy and gives you a nice effect.
ReplyDeleteThe cheap 1/43 cars you can get at CVS work really well when it comes to using them for scenery. I'd love to get a school bus in that scale but they're expensive so unless I get really lucky I'll have to keep dreaming.
DeleteYou are right about the foam; I used it on my dumpsters but totally forgot about it when doing the Mustang. Duh!
Ruined and rusted vehicles make great scatter terrain for many modern games ( I have several also) and you've done a great job with the rusting technique you used too. Great piece !
ReplyDeleteCheers, Joe! It was surprisingly easy to do and looks really good.
DeleteLooks great Matt, and all in only 90 minutes - I really need to do something like this myself.
ReplyDeleteI've got some Vallejo Liquid mask, which dries blue. I've only actually used it for spraying up my restored interior door locks so as not to paint over the brass ident plates, but I'm sure I'll put it to a real use eventually!
Well, the 90 minutes doesn't include waiting for the spray paint/liquid mask/acrylic paint to dry, but it was still a pretty quick project. The liquid mask works really well for this technique.
Delete