

Obviously it isn't finished yet, and at this rate it might be done by 2045.
What's a mainstay of sci-fi? Spaceships. Where do spaceships land? That's the question that led me to attempt to build a landing pad. Well, that and seeing a tutorial for one on YouTube. I thought it would be a cool and straightforward build, and as the tutorial used an octagonal lid from a tub of Quality Street chocolates I went to Amazon to get some. Almost $30? Bloody hell. So I headed off to Dollar Tree and picked up a hexagonal storage box for $1. Nice.
Anyway, this was built over the past 10 or so days, meaning I've turned the kitchen table into a bombsite of plastic, wire, glue, scissors, knives and assorted crap for almost a fortnight. Sorry, Alicia.

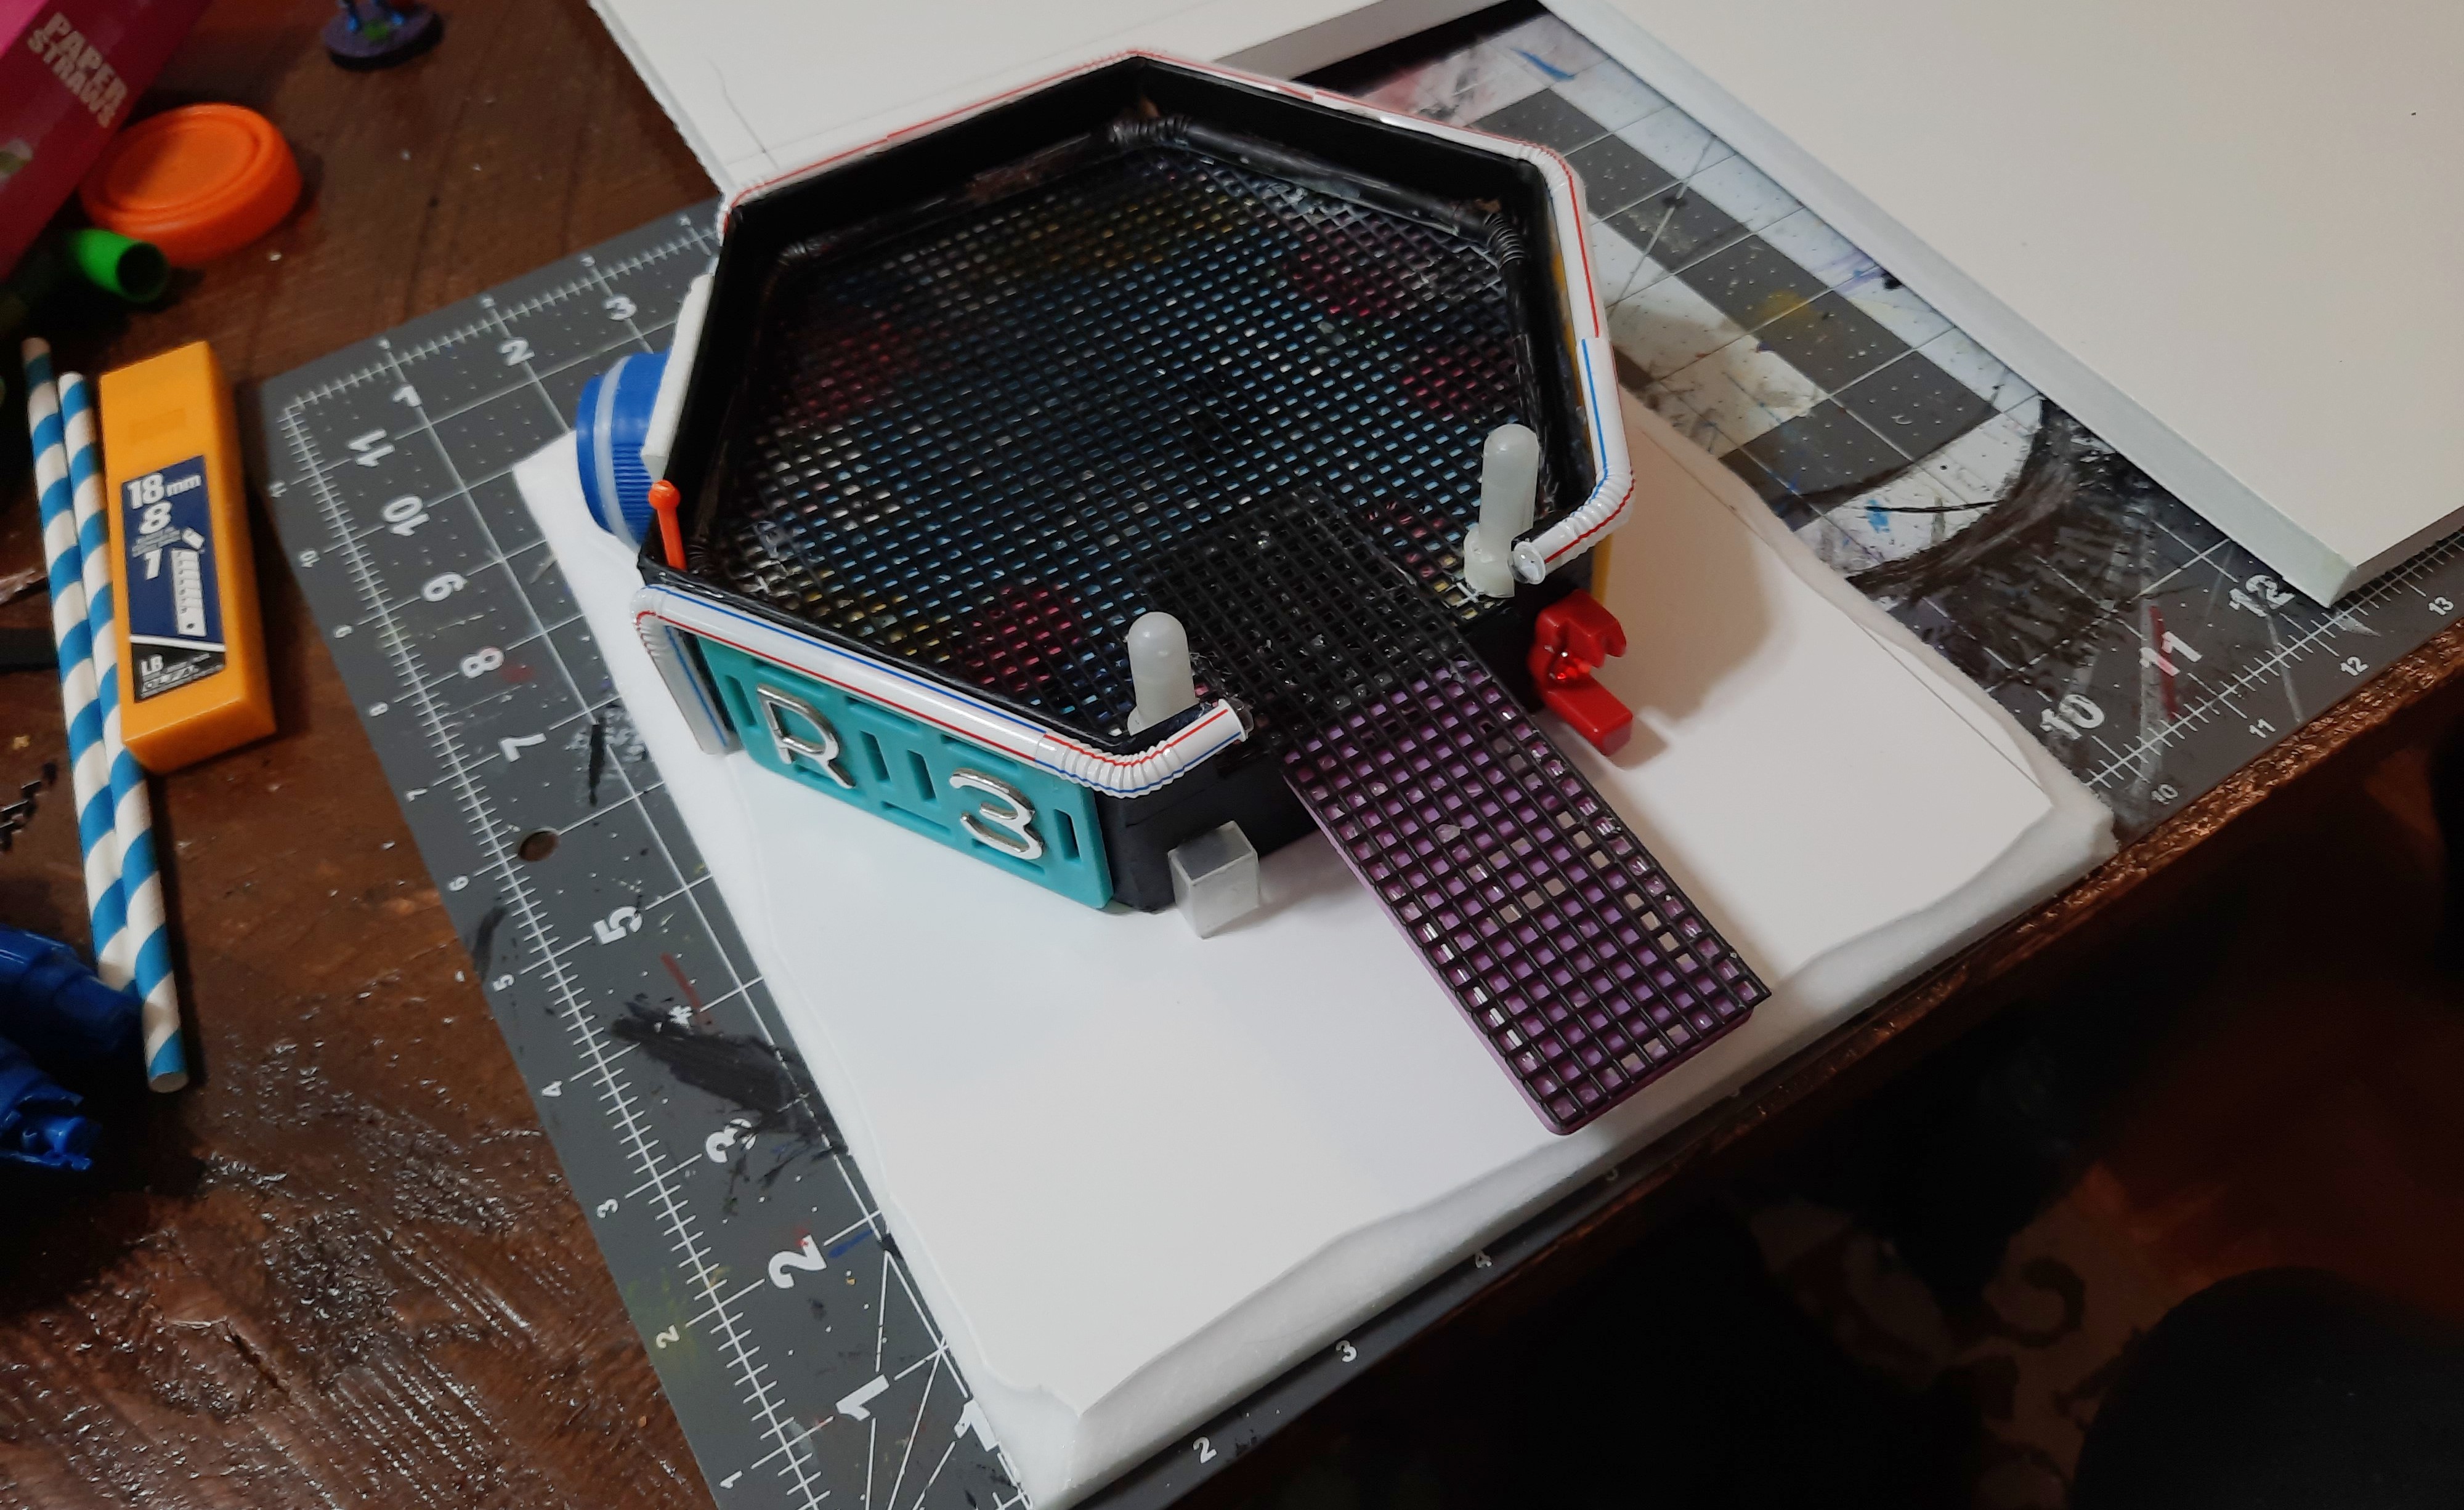
Here's the basic ingredients I started with: the box lid, some 3mm foamboard and some granny grating I've owned for years. Not pictured: knife, glue, magnifying goggle things, coffee, vape, two boxes of bits and a lot more stuff I had to go get from the spare room. The 3D-printed spaceship is to make sure the pad is actually big enough.
The first thing I did was go to the spare room and get my white paint marker to draw around the lid. I will be doing several more trips to the spare room, so get used to it.
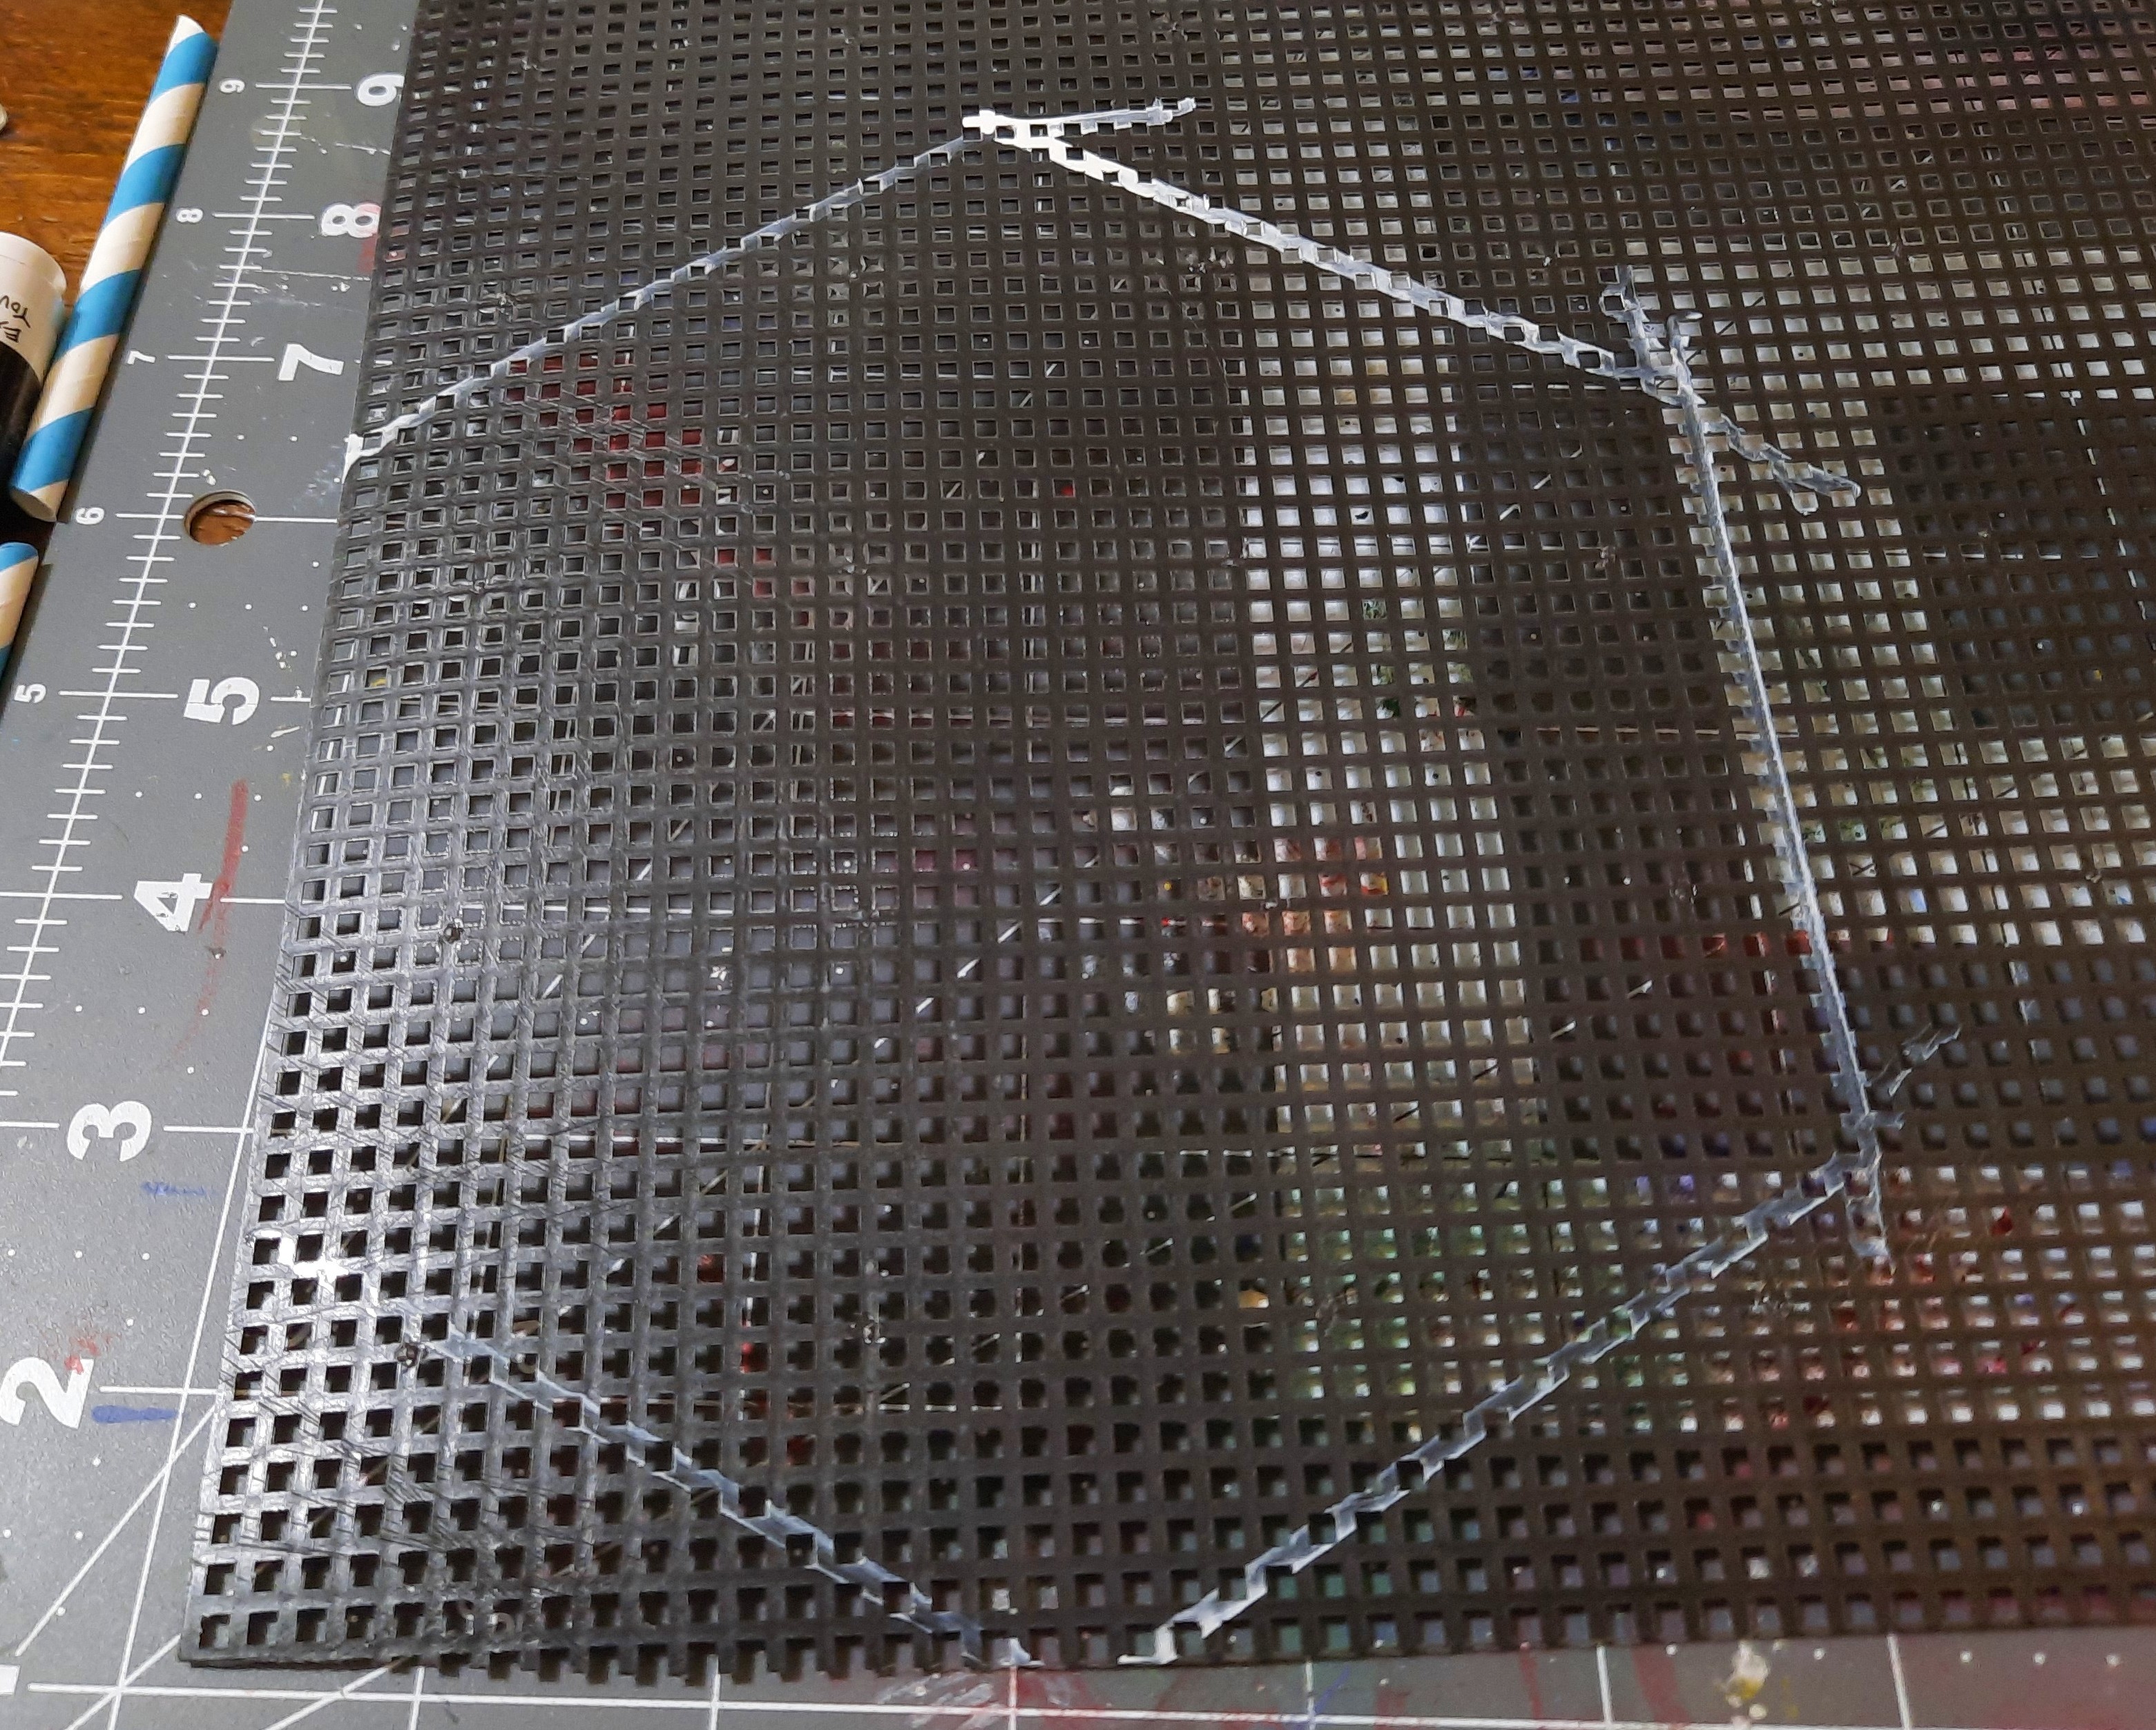
The grating was easy to cut with a pair of scissors, and after another trip to the spare room to get my hot glue gun it was stuck to the lid. So far, so good.

I realised the pad would need walls to stop futuristic people from falling off it, a la Valkyrie in Thor: Ragnarok. I used chipboard, which is thick cardboard, scored so I could bend it around the corners. Notice how I managed to totally cut it too short and had to measure and cut another piece to cover the last bit. And yes, I had to make another trip to the spare room to get the chipboard and my Olfa knife.

I wanted something to cover the gap between the card and the edge of the box, and bendy straws sprang to mind. After a lot of swearing, binned straws and a couple of cuts in my fingers, I managed to make this proto-Millennium Falcon.

She looks happy, probably because she's not trying to make a landing pad on her kitchen table with a cut finger and a distinct lack of a plan. Anyway, this is Roominate, a kids' toy that I learned about on the very excellent Eric's Hobby Workshop channel. I managed to find it on Amazon for $15.

This is why it's worth $15: all these lovely bits of plastic that can be used as walkways, platforms, barriers, and why is it only now that I realise I could have used one of the big pieces on the left for the landing pad?

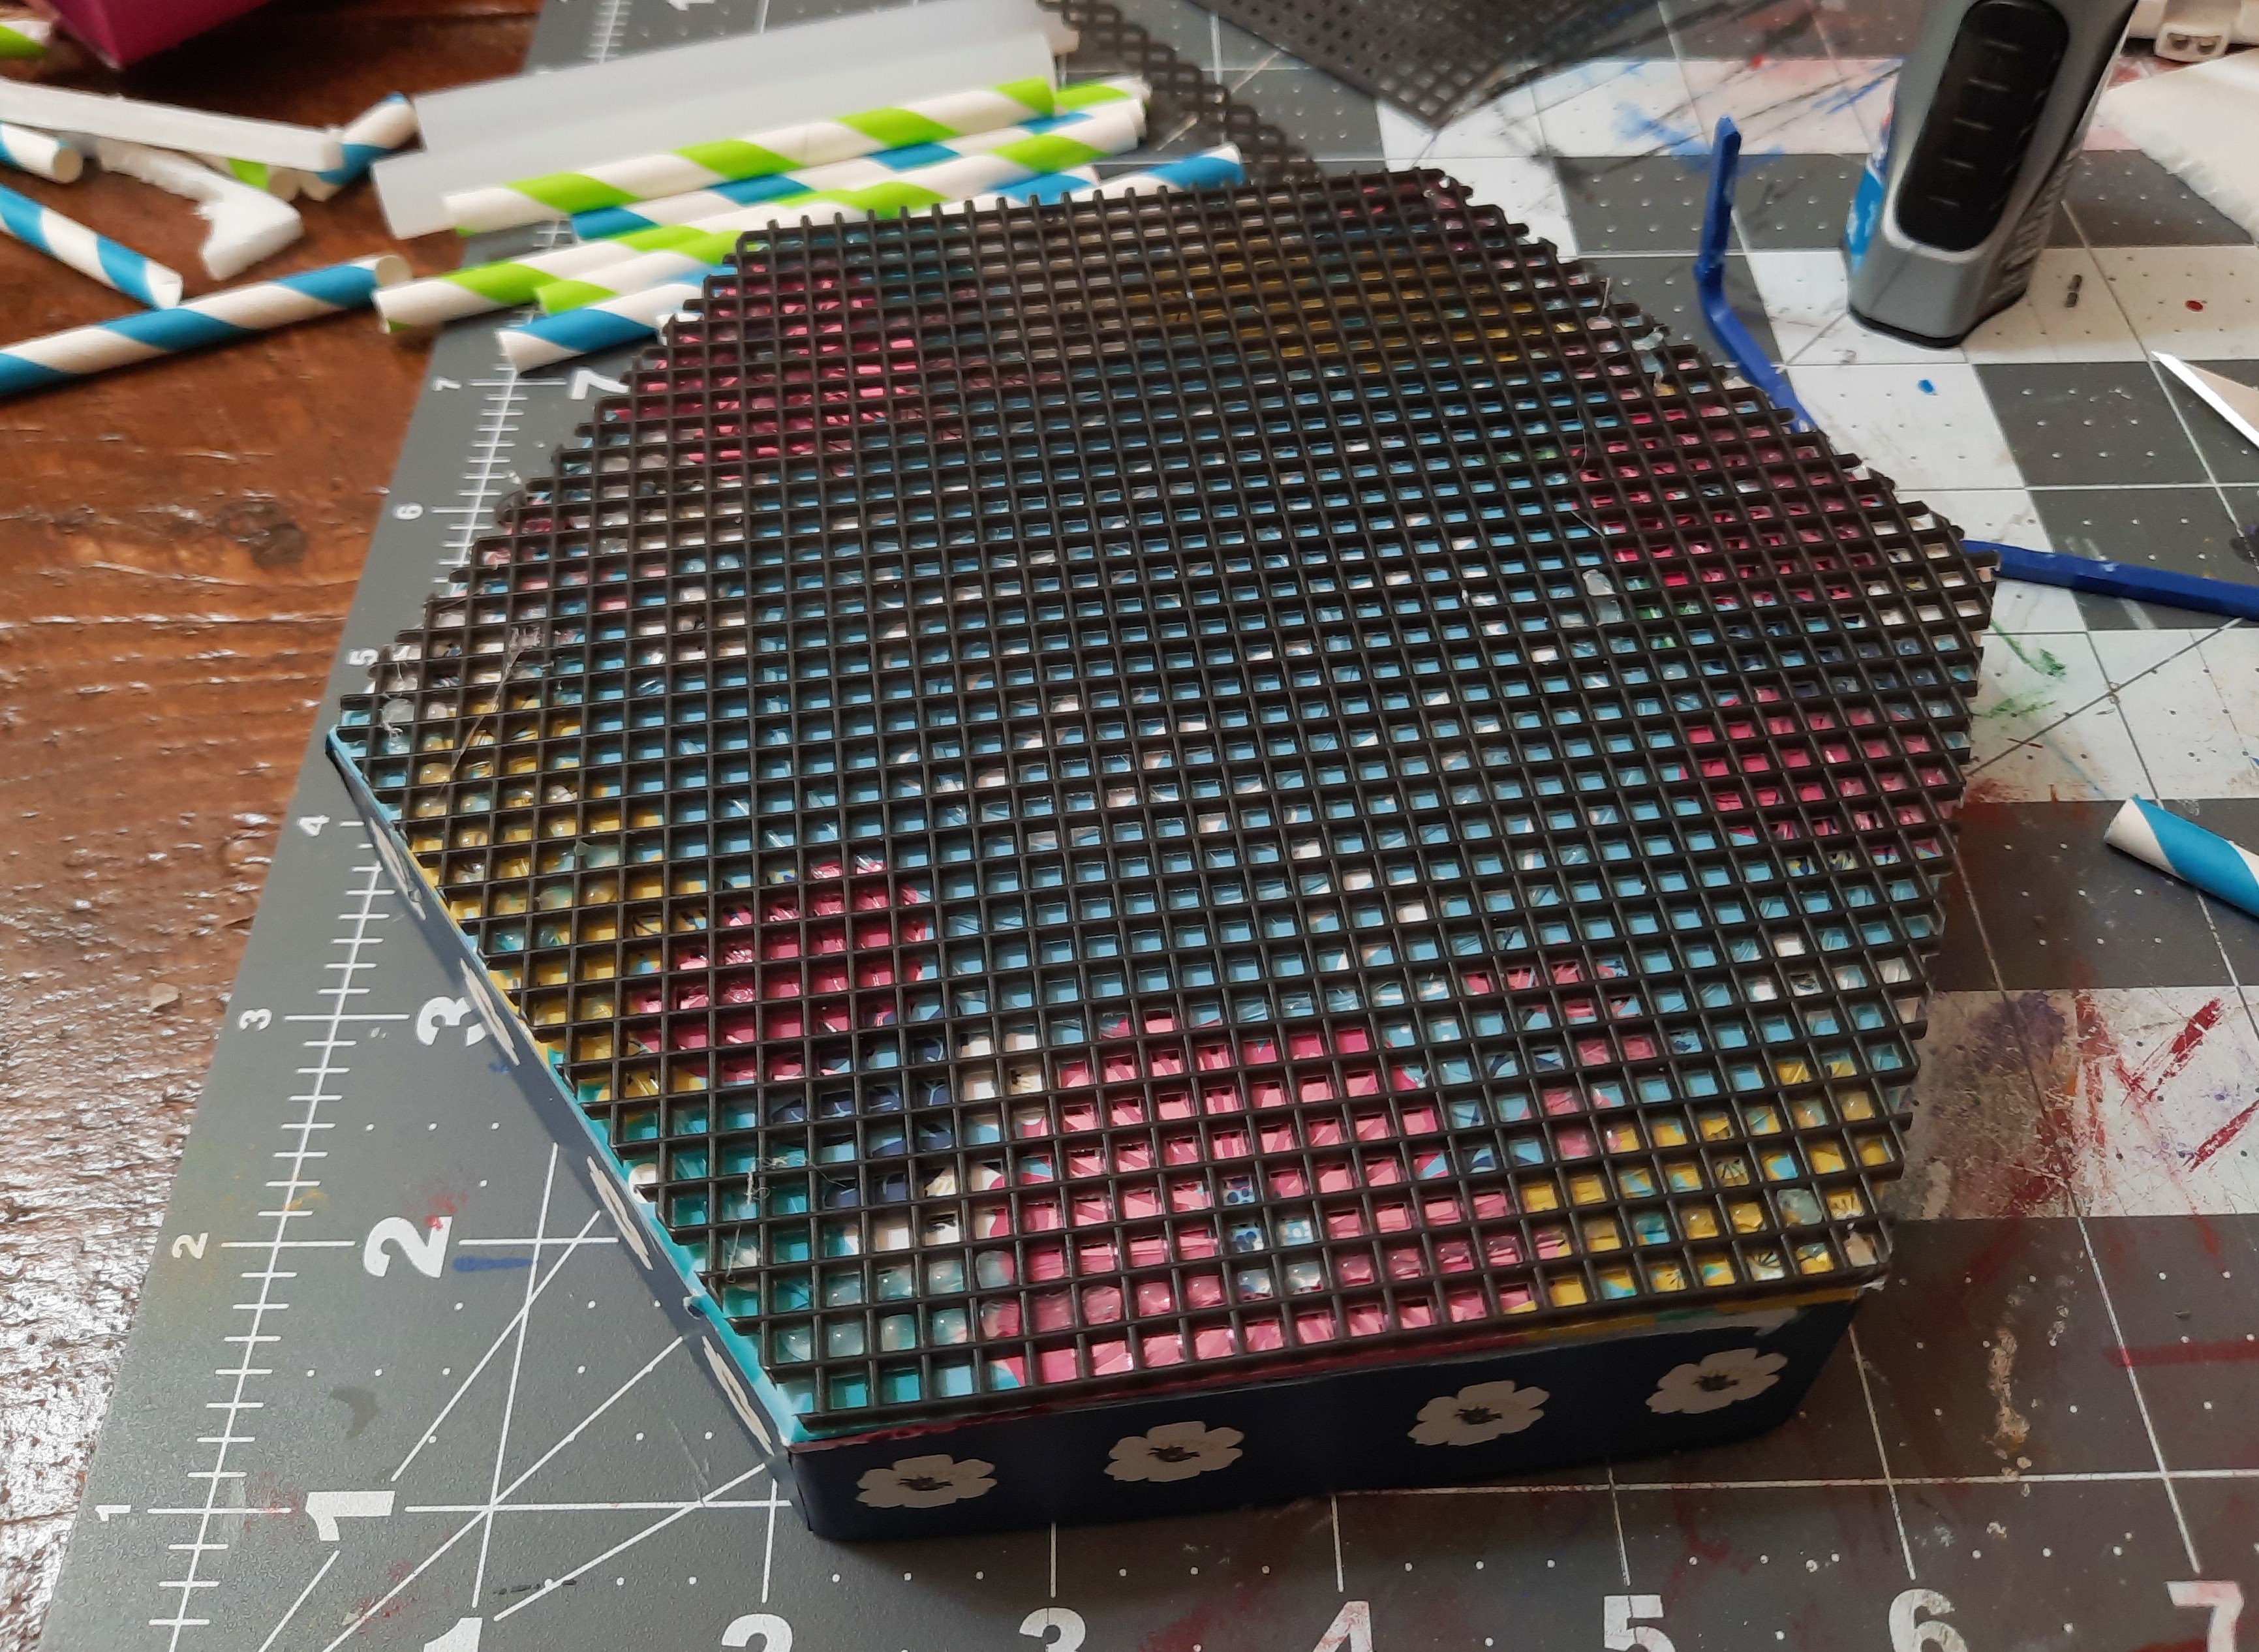
I need some way for the characters to get on and off the pad that doesn't involve falling off the sides, so I glued one of the short Roominate pieces as a ramp. Oh, I forgot a picture: to protect the cardboard from and strengthen it a bit, I covered it with masking tape. Note how the spaceship and Betty fit on the pad, which at this stage was a huge relief.

After painting the walls with a mix of Mod Podge and black craft paint, I started sticking crap to them. A square of foamboard had the lid from a pill bottle glued to it and then an odd-looking vent(?) thing stuck to the end. I used more straws to cover some of the crappy edges of the masking tape, and used a couple of plastic wall plugs at the entrance.

A random plastic wotsit with a plastic gemstone glued on was stuck to the side of the ramp.

Not wanting to have to come up with random bits for every wall, I just used Roominate sections to cover them as it was easier and I'd got laundry to do. After a trip to Walmart to pick up a prescription I did my usual wander-around-the-craft-section and spotted these 3D plastic letters and numbers, so I picked up a sheet.
The pad was going to need a base, so I dug out my sheet of half-inch foamboard, sliced out a section and bevelled the edges a bit. More hot glue stuck the pad down securely.

As I plan on spray-priming this, I had to slather more black paint/Mod Podge mix over the foamboard so it wouldn't melt. While the mix was still wet I dumped on a load of chinchilla dust to add some texture. Of course, with this being me, I didn't spot the massive areas of dead space to the sides of the ramp but I have an idea of what can go there.
Stay tuned for part 2!
I came for the modelling tips.
ReplyDeleteI stayed for the snarky asides: "She looks happy, probably because she's not trying to make a landing pad on her kitchen table with a cut finger and a distinct lack of a plan."
Thanks, Matthew! Rest assured there'll be more snarky asides in part two LOL!
DeleteWhat a fabulous start and had me in stitches too. Can't wait to read part 2.
ReplyDeleteCheers, Michael, and welcome to the blog! Part two will be up soonish!
DeleteGood start, Matt. What a corking ensemble of pieces of card, plastic, dust and paint. Looking forward to seeing how this turns out. Keep going!!! :-)
ReplyDeleteThanks, Simon! The pad is in the garage ready to be spray-primed and sworn at.
DeleteGreat work Matt, are you certified to use sharp objects ? LOL you know what they say it's not really a piece of scenery unless you've bleed for it ! ROFL
ReplyDeleteKeep up the great work mate, it will be a stellar piece when your finished.
Thanks, Dave, I appreciate that! You're not wrong about bleeding, and as long as this bit of scenery isn't bleeding awful I'll be happy LOL!
DeleteNot sure if I'll be around in 2045, but I'm sure I'll be excited to see this finished! I'm tempted to pick up one of those playsets, but the youngest would probably freak out when she sees Daddy repurpose (aka destroy) it for gaming stuff. We already had a row when I turned a crappy plastic rock toy into a nice looking piece of terrain!
ReplyDeleteIn 2045 I'll be 73, so I'm hoping I get it done before then :-) The Roominate set is really worth the money as you can use the parts as templates to make more bits from card or foamboard. Just don't tell your kids LOL!
DeleteVery nice mate, it does look like a landing pad, and the vent on the side is to evacuate the gasses that go through the grate during take off and landing! Brilliantly well thought out sir! ((you can take credit here, I won't say anything 🤫. Does really look the business!
ReplyDeleteCheers Roger.
Yes, you're right, Roger, that's exactly what the vent is for, honest :-)
DeleteThis is just so entertaining on so many levels and I've enjoyed a good chortle, obviously at your expense! I'm going to get in beer and snacks for the next post! The landing pad does look really good so far mind you! :-) I think you might find more than a few of us go through the same trials and tribulations as yourself, but we maybe don't all recount them in such an engaging style!
ReplyDeleteGlad I could entertain you, John :-) I too will probably get some alcohol in for part two, something stronger than beer LOL!
DeleteAhh, the many joys of scratch-building without a thought of planning other than some whimsical idea of a hexagon (or was it an octagon ?)..
ReplyDeleteLove the write-up and the half-completed model - I have several that nearly reached this stage !.
Yep, Joe, "planning" when it comes to scenery is not one of my strong points LOL! I usually stick crap together and hope for the best!
DeleteScratch building is good for you to learn (and hard to master, I reckon) but its something I avoid as I don't think I'd do very well with it. I'm glad you're persisting through this project and I think its going to look nice when its all said and done. Keep at it, mate and I look forward to the commentary along the way!
ReplyDeleteThanks, Jeff! I do enjoy scratch-building stuff, but I'm not that good at planning in advance. So while I have a general idea of what I want to make and how to go about it, I usually end up faffing around trying to find bits I need or trying to unstick other bits I've superglued down LOL!
Delete