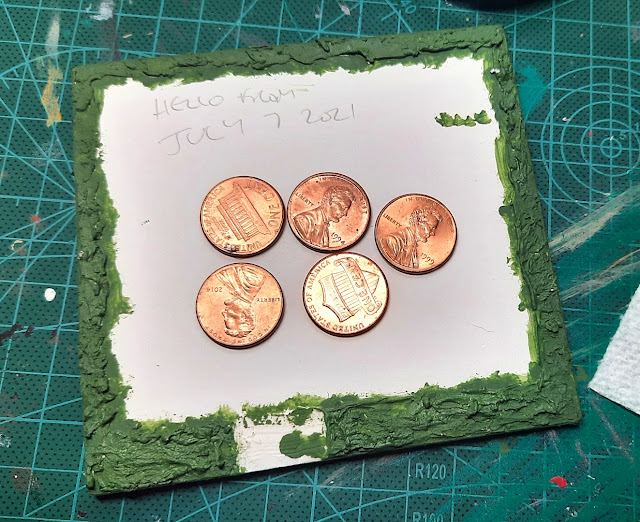
HI GUYS! REMEMBER ME?
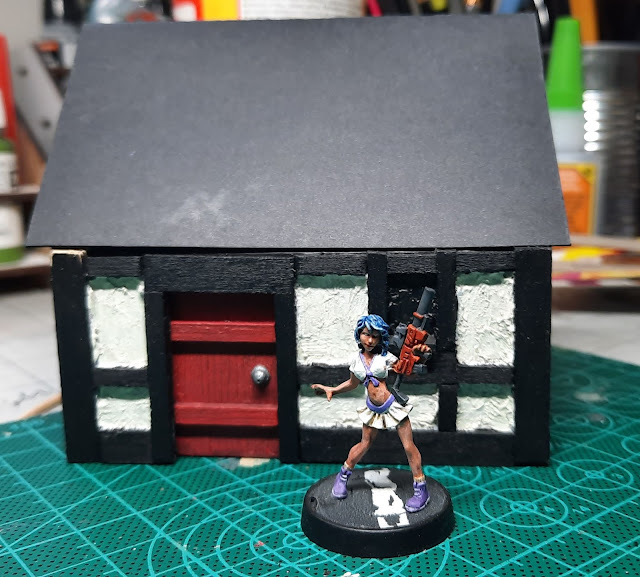
This was as far as I'd got last summer before having to give up and pack the cottage away for our move from California to Vermont. Surprisingly the foamboard and balsa wood construction survived almost 3,000 miles in a box, so it's time to get it finished.
This project crashed to a halt last year mainly through my overthinking things to the point of anxiety. My main concerns were the roof tiles, which looked to be a bugger, and constructing the stone chimney out of greenstuff or clay, which frankly filled me with terror. When done right the chimney can look fantastic but it's still way beyond my sculpting skills. In my second post about the cottage last year (complete with bonus pic of me!) I said I'd had a revelation about how to do it, and that idea still stands: to make it as one of those witch-cottage chimneys that's made from a pipe and has a cone at the top. Of course I never actually got around to it, and here we are.
Warning: This is a long post, so please fasten your seatbelt, pay attention to the safety video, and enjoy your flight.
First things first: the roof. The original White Dwarf plans call for the tiles to be made individually from little squares of cardboard, but as Jez commented last year, that way lies madness. I decided to look around for a tutorial and found one on YouTube by The Terrain Tutor about making tiles in strips rather than individually. After getting hold of a cereal box I whipped out the set square and Olfa knife and started cutting.
After a lot of cutting, only made bearable by a fantastic 1990 Cure concert, I was left with this. At this point I realised I had nothing to actually glue the strips to, so I dug out my one remaining sheet of black cardboard and made a roof structure.
That's better. Candy provides some idea of scale. So, back to the tiles, and having to cut what seems like a million little v-shapes out of the strips. A Cure concert had no chance of helping pass the time while doing this; not even Robert Smith showing up, making me beans on toast and a cuppa and then performing Disintegration in the spare room could have improved things. It was a total slog. And to be honest the tiles were looking way too uniform. So I stopped and had a think. That turned into a longer think, which began edging its way to the borders of "worry" before attempting to make a dart for "overwhelmed". And then I had a breakthrough:
STOP OVERTHINKING THINGS!
And you know what? I did. I went back to the original plan of individual tiles and started cutting up my strips of cardboard. Madness might lie this way but I'd rather get the cottage done than end up failing for a second year.
After lots of snipping I had a decent pile of little squares/rectangles sitting in the remains of the box. Getting my tacky glue, an old plastic lid, a toothpick and an old cheap brush together, I began.
One row done, and it's not too bad. The tiles go on printed side up because that side takes paint better. I don't know if I'll feel like that by the end but so far it's been pretty easy. But I could do with a coffee. Hey, Cadbury, go make me a coffee.
Oh. Bugger.
SWEET OBLIVION TAKE ME NOW. This is just one side of the roof. I wish 3.24pm me could get a message to 2.45pm me, said message being "Do the back first to get the hang of it". I cut a longer strip of cardboard and folded it in half to act as the bits of tile that wrap over the top of the roof. And note how I actually remembered to make a hole for the chimney. OK, onto the back half of the roof (and I can't lie, I did entertain the idea of not bothering with the back...)
You're going to have to tell me if it looks OK because my eyes just filed for divorce. To be fair, the back side went a lot quicker than the front and apart from getting little bits of card stuck to my fingers it wasn't too much of a hassle, just tedious.
I left the roof overnight to dry, and this morning painted it Black Grey. It went a lot better than I thought, as I was worried that tiles might come off or the paint would warp the cardboard. The only real problem was getting paint into all the tiny gaps between the tiles, for which I had to switch from a size 9 brush to a 10/0. If I do one of these again I'll use black or grey packaging instead of bright colours.
I painted a few random tiles with different greys — Stone, Sombre, and Neutral — just to vary the look a bit. Once dry I hit the roof with thinned Black Wash and then highlighted it by drybrushing more Neutral and Ash grey in an upward direction, finishing off with Ghost Grey. A coat of matte varnish and some random flocking and OH MY GOD IT'S DONE oh wait I forgot the chimney. A short length of plastic rod painted black did the trick, and I added some rust effect paint just to give it a bit of life.
I thought it needed a base, so I put the cottage on some foamboard and drew around it, making sure I left room around the edges, and cut it out. I then covered the non-cottage part in modelling paste. The sides were also covered in paste to disguise the foam.


Terrific work, Matt, and Husq (as well as you) should be rightly proud of his home. The construction, painting and moss additions are all top notch. Looking forward to seeing the rest of the metropolis being built and painted ;-)
ReplyDeleteThanks! I am very happy with it, and happy to discover that the bits I was scared of turned out to be pretty easy (just boring).
DeleteOh yes your cottage I'd completely forgotten about that 😉.
ReplyDeleteLooks great now it's finished, I think the individual tiles were the way to go, the strips are easier (up to a point), but don't look as good in my opinion (if you are going to do a lot of these buy yourself a guillotine, got mine in a sale years back, and though I don't use it that often, it has paid for itself!).
There now isn't that better now it's finished! I don't feel bad about badgering you now (not that I did anyway 😁).
Cheers Roger.
Thanks, Roger! The individual tiles were definitely the way to go, despite being fiddly to attach. But the end result is well worth it, the tiles look really good once painted up.
DeleteExcellent finished piece Matt, must be a good feeling getting it finished. You went the right way with the tiles for a ramshackle look as the strips can look too uniform. Funny I always use the card the other way round as I like the texture of the rough side for tiles, and once the base coat has gone on I find they paint really well with drybrushing.
ReplyDeleteCheers, Dave! It really is a nice feeling to look at the completed cottage!
DeleteI did play around with painting the rough side of the card on a scrap piece, but it absorbs so much paint that it's a pain to get it on. And I thought that thinning the paint would mean warping the tiles, so I went with painting the printed side. It took a couple of coats but it worked well.
Moving from California to Vermont is potentially quite a change in weather and culture! As impressed as I am by that, I think the cottage come out really nicely. It looks lived in and homey but also like it was hand-built which is perfect for the fantasy setting!
ReplyDeleteThanks! I'm really happy with it and a bit surprised at how easy it was to do.
DeleteThere is a huge difference between VT and CA, but then again I moved from South Wales to California 17 years ago and that was a huge change too :-)