

It's here again, the challenge at which I failed miserably last year. This year, however, I'm raring to go with an MDF building I bought back in December specifically for the 2021 Season of Scenery, along with a couple of smaller projects. And I might even complete one this time!

Here it is in its unassembled glory. It's made by Atomic Laser Cut Designs and was $15 on Amazon. On the top left is the base with the signage, window frames and doors, and below it are the back and one side. On the top right is the roof with the raised edges, for which I'm sure there's an architectural name that I don't know, and below are the front and other side.
Upon opening this eight months ago — seriously, EIGHT MONTHS? We'd only just moved in to our house! Where did it go? — it smelled really strongly of burnt wood, which I'm assuming is from the laser cutting process. There's still a hint of bonfire about it but nothing my olfactory senses can't deal with.

As it's laser-cut the bits fit together easily without having to force them into place, which is more than I can say for Vallejo's MDF paint stands. The roof goes together so tightly that I don't think it needs to be glued. Obviously the window frames and doors aren't stuck on yet and I don't know if I'm going to leave the sign up there or bin the struts and just glue it to the top of the front.
After dry-fitting it a couple of times I began to prepare it for painting. One of the issues with the building is that there's no texture to the MDF and no details like brickwork etched into the walls, so unless I want a store that looks like it was made from plastic I'm going to have to rough up the walls a bit. I was going to use filler, the same stuff I used on the skull rock I made in March, and to be honest I was worried as I could see me easily mucking it up.

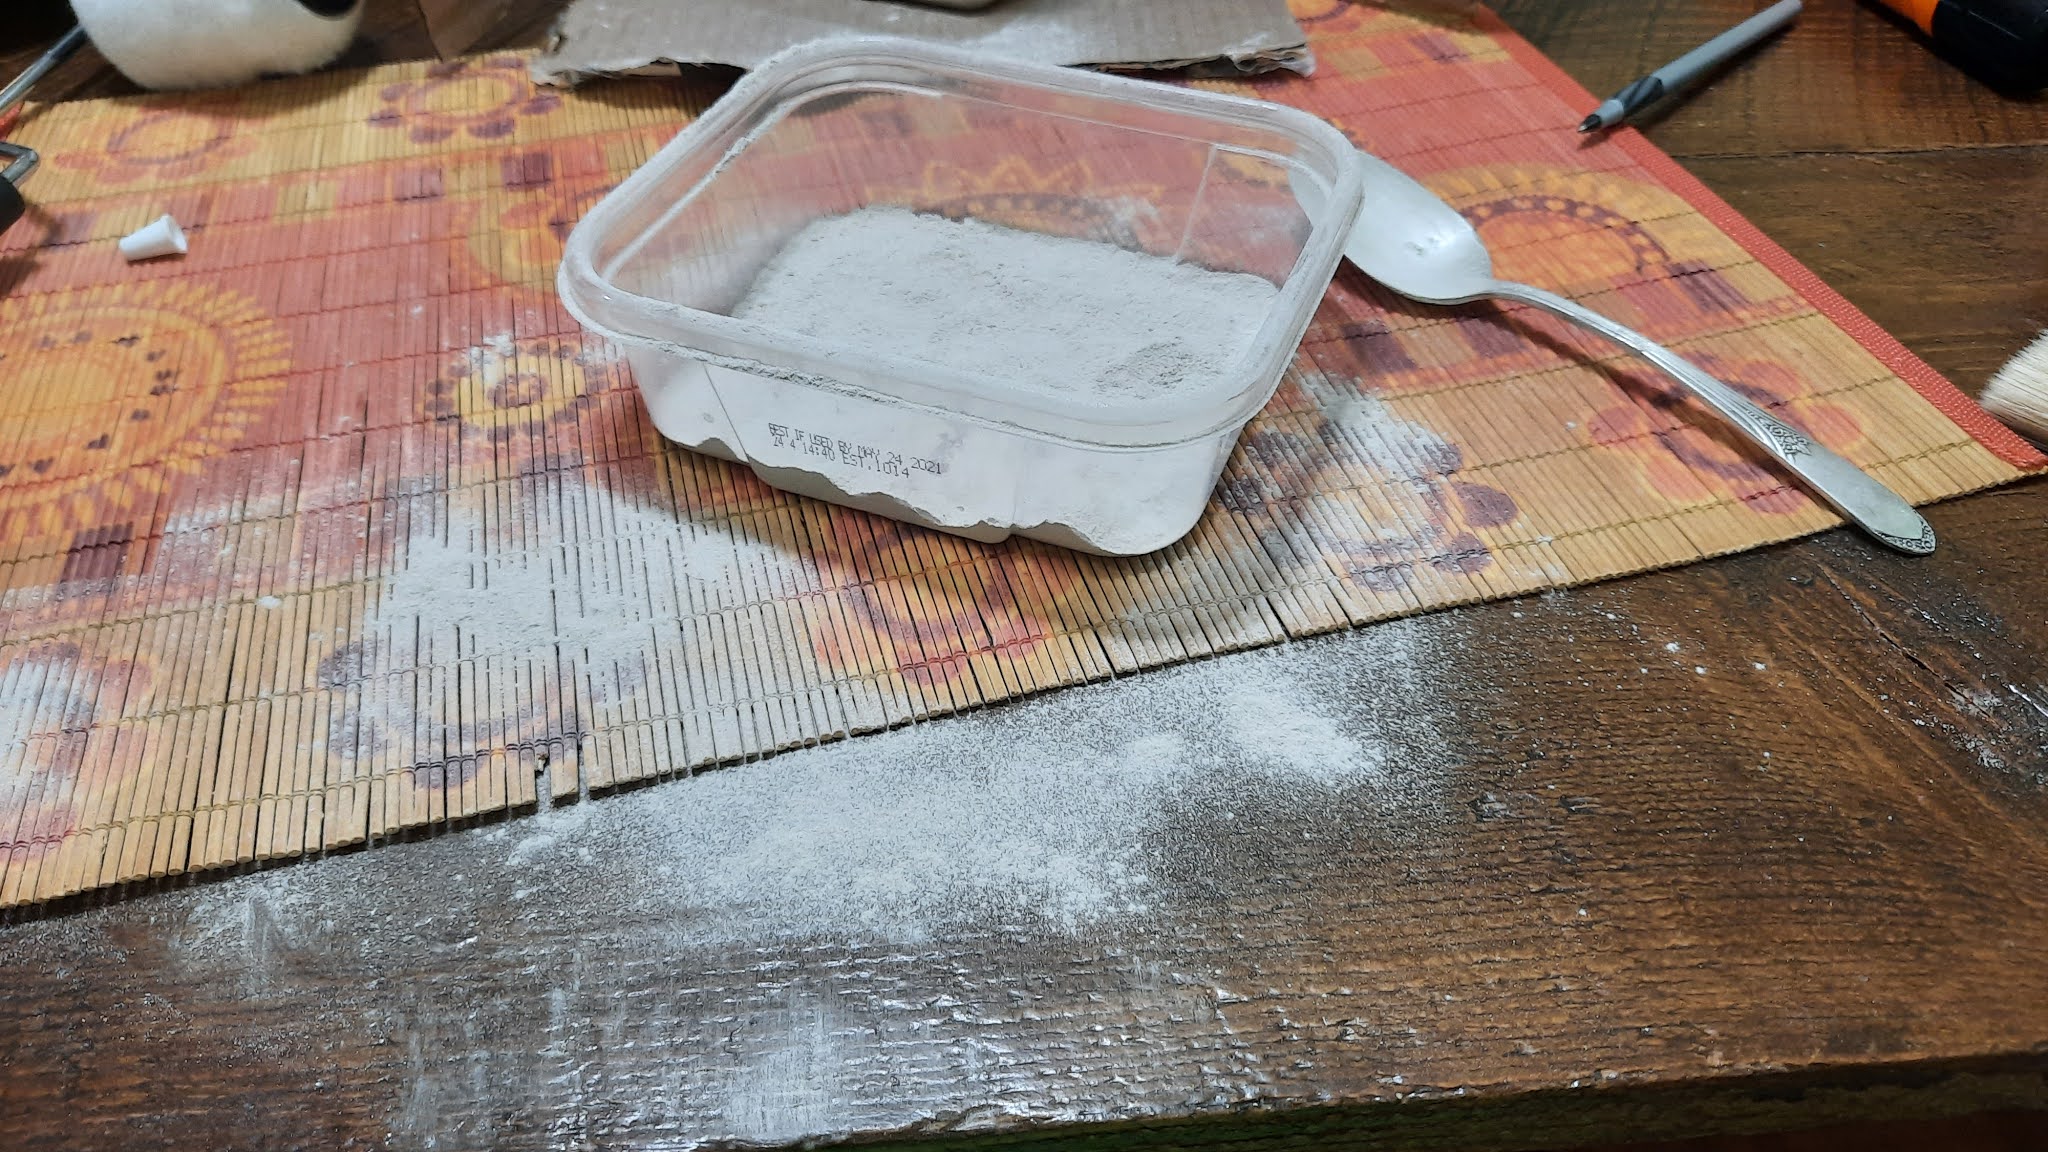
But then I remembered something. Back in April, Mark over at markamorin.com made a fantastic Aztec temple sacrificial altar from an MDF kit and provided detailed steps as to how he prepped, textured, and painted it, so I'm in debt to him for his unwitting help with this project. Chinchilla dust is not something I'd previously heard of, but after reading his post I ordered a jar from Amazon. It's been sitting under my desk for over a month, and at $8 for 2½ pounds, I'm not going to run out any time soon.
I've read so many tutorials on prepping MDF and still don't have a clue as to the best way about it. Some say to wipe it over with a slightly damp cloth before painting, some don't. Some say to not use PVA glue to avoid warping, some say it's fine. Some say don't use acrylics because they can also cause warping, others say to plaster it on and don't worry about it. Others claim you have to use special paints, while some tell you to just blast it with spray primer. I love the internet; one problem, 250 different answers. While Mark's post didn't mention any of that, he did have issues after dusting and painting the structure first and then assembling it. So with this in mind I put the dust to one side, glued the building together and left it to dry.
Before I glued the pieces together I measured them and made a note of the dimensions. Although $15 wasn't too bad a price, I can buy sheets of foamboard for a dollar so if this building works out I'll use the measurements to make my own. If anyone wants them, here they are:

You're welcome. I apologise for the inches, but this is America and my set square doesn't do metric.


So this is where we are so far, and please ignore the state of our cooker. There are some gaps which I assume is down to warping from either the Mod Podge or spray paint, so I'll have to work out a way to deal with them. Maybe PVA? The roof isn't glued on yet as I need to do some stuff to the inside, and I have lots of ideas of where to go in terms of painting and detailing (although not necessarily how to do it).
Tomorrow I'll hit it with Grey Wash to get some shading on it, then it's a case of highlighting the white and adding some colours. One thing I do not want to happen is getting bogged down overthinking things to the point where I just don't make any progress, which is what happened with the cottage last year.
Looks good mate, the thing that always annoys me about MDF buildings is the corners joints! I would have been tempted to cover then with coffee stirrers, though more PVA and dust will probably cover them. Have you thought of covering the rood in sandpaper to simulate roofing felt?
ReplyDeleteOh yes and the burnt smell! 😒
Cheers Roger.
Coffee stirrers! Roger, I want to bear your children. It's the perfect answer and I have over 900 of them sitting in a bag. Thanks so much!
DeleteThe roof is just covered in chinchilla dust like the walls. It looks OK but sandpaper would have been a good idea.
You are more than welcome to them mate! I cant bear them myself sometimes! 😁
DeleteOff to a great start Matt, for the gaps you could use some wall filler, I believe it's called stucko in the US, probably the wrong spelling, it will fill those small gaps, and leave a similar texture as the dust.
ReplyDeleteNow don't overthink it ! LOL
Thanks, Dave, I think I've made good progress on this one so far and the whole process, minus drying time, probably took about two hours. I have bags of ideas for this one, and I've planned most of it out in my head so hopefully I won't freeze like I did with the cottage :-)
DeleteSplendid start Matt, and some sound suggestions from Roger - who I believe used his coffee stirrers idea to great effect on some sci-fi buildings recently..?
ReplyDeleteThanks! Roger's suggestion of stirrer sticks is spot on, and I've already painted some up to hide the joints (or at least as many as I can). I'm still working on the inside but they're waiting to be attached.
DeleteGood looking building and a nice bt of 'filler' terrain.
ReplyDeleteI'm still undecided about MDF, it has many pors and cons. For my factory building I covered the unsightly corners with a piece of folded paper, making it appear as a concrete pillar (or similar). For flat roofs I've used snad sprinled lighly over the roof, just to give it texture and some perspex for window gives these models a much better look imho.
Cheers! This is my first MDF building. The definite pro is that it's ready to be put together, so no mucking about measuring and cutting foamboard. The only con so far are the gaps, which I'm assuming happened during the drying process, and hoping that it doesn't warp when painted. I should have glued one wall to another, propped them up, then waited till they'd dried before doing the others. Oh well.
DeleteI dug up some clear plastic packaging to try to do windows, or at least broken ones. I've got a few more bits to add to it that are still waiting to be assembled or painted.
Looking good already, Matt. Glad to see you're trying out Mark's chinchilla dust technique; it's something I wanted to give a shot but I don't have any "stone" MDF buildings at the moment.
ReplyDeleteThanks, Keith! The dust technique worked so well and was relatively easy to do. It's like flocking a base only on a bigger scale. I'm happy with it so far but there's a lot to do yet.
DeleteThis piece of terrain is looking great so far! I completely agree that the gaps in MDF is by far the worst part of it. I actually was hoping to see what others do to fix that in your comments section and I'm not disappointed by reading about some new techniques. I have some MDF coming from your homeland soon so I'll be working on some relatively soon myself :)
ReplyDeleteThe gaps really are a pain in the backside. The building fitted perfectly when I dry-fitted it, so it's doubly annoying when they suddenly appear once the glue's dried.
DeleteThere are tons of tutorials out there about how to prep MDF, the Terrain Tutor on YouTube has some really good ones that also cover painting and weathering.
Thanks for the shout out and sharing the link Matt. I found that sometimes a second application of the chinchilla dust plus some strategically placed stippling while it was wet could cover the gaps well enough. The building looks great so far! Will look to see if there are further posts I missed!
ReplyDeleteThanks, Mark, and no problem sharing the link, it was a ton of help. There's two more posts about the store, I dragged it out a bit lol.
Delete