

Garrick the Bold, his sword drawn, makes his way cautiously up the steps of the ruined temple. He's been tasked by his monarch with killing the feared red dragon, but as it comes into view he's beginning to think that maybe the princess' hand in marriage and half the kingdom probably isn't worth it.
When I left off last time, I was pretty much done with the painting, so now it's onto the landscaping.

I did give the temple a final lighter drybrush with Antique Parchment and then White craft paints just to bring back some of the light tones after its dousing with black wash. The whole base got a second coat of English Ivy Green and once all the paint dried, I plastered everything with matte varnish.

I scooped random amounts of Earth, Burnt Grass, Green Blend and Earth Blend flock into an old tupperware box, fastened the lid, took it outside (just in case) and then shook the crap out of it to mix it up.
Using a large flat brush I daubed matte Mod Podge around the edges of the base and began dumping on the flock, pushing it down a bit with the back of a spoon to make sure it stuck as I usually end up with bald spots whenever I do this.

Here's a closer look at the temple itself. I made sure to get patches of flock on it as well as the base. I gave the Mod Podge a good hour or so to dry, then took the model outside and blasted the flock with PVA spray to seal it.

The second layer of flock is on, and the temple was put outside on top of the hot tub cover to dry in light breeze and sunshine. I left it alone while packing for our trip to Maine, and then sprayed it all over with PVA.
After our safe return from Ogunquit, I undid all the hard work I'd put in clearing up the kitchen table by putting all the basing stuff I needed back on it. I make and paint scenery in the kitchen because my painting desk in the spare room looks like this:

Not pictured: the other desk to the left, which has a PC on it but you wouldn't know because it's buried under more crap. Anyway, temple time. This is a long post, so strap in!


...and one of the columns. You can see bits of static grass in both the above pics, and the reason for that is simple. I buggered up. I was applying static grass with my homemade applicator when I realised it would make getting at the bottom of the walls difficult, so I stopped.

I glued on a couple more lengths of moss, and then went back to applying static grass. First I painted one corner of the base with thinned Mod Podge as I've read that it's a good glue to use. Then I pushed the nail into the side of the base, attached the crocodile clip, loaded the sieve with 7mm mid-green grass and went for it.
The applicator works, so there's that. The grass was falling end-first into the glue and I'll chalk that up as a success, and as I don't really know what I'm doing I basically plastered this corner before stopping, turning the temple upside down, and tapping the bottom to get rid of the excess. It looked OK and I put the base upside-down on a box so the grass would remain upright while the Mod Podge dried.
An unforeseen problem with the applicator is trying to get it close to the wall. The sieve I used has two metal loops sticking out of it — the ones you'd use to rest it on a pot or hang it on a hook — which means I have to tilt it back to get the grass as close to the walls as possible. I'll have to bend them upright or something, but for now the applicator was doing the job.
Another unforeseen problem was me; as dumb as it sounds I piled on way too much grass because I kept seeing white glue and instead of remembering that IT DRIES TRANSPARENT I just tried to cover it up. Duh.

I worked my way around the temple and finally the final area was covered with the grass. The excess sticking to the side of the base was wiped off with a damp paper towel. With all the grass done I put the base to one side for a couple of hours to dry properly and did some laundry. When I came back, it was time to do some detailing on the inside of the temple.

One thing dragons are famous for is torching people with streams of fire, so a pile of ash seemed an appropriate detail. I used coffee grounds from a Keurig pod (Green Mountain Nantucket Blend in case you're interested) mixed with Mod Podge to form a gritty paste and dumped it into the corner using a spoon. Once it dried I gave it a coat of matte varnish to seal it.

I took a break from the temple to magnetize Dewi. I'd bought some 5mm magnets and it was just a case of supergluing them into the hollows in his feet where he would have slotted into his plastic base if it wasn't so crap. Before gluing them in I made sure the correct side was pointing down by putting a red dot on them.

Then I magnetized the base. I slid the tip of my Xacto blade into the foam to make an X and then pushed the magnets in. It's not perfect but they hold Dewi in place and that's what matters.

It wouldn't be a Matt base without flowers, and as Dewi is Welsh I used yellow ones to represent daffodils, which are our national flower. I put several tufts around the steps and some more down the sides and around the back.
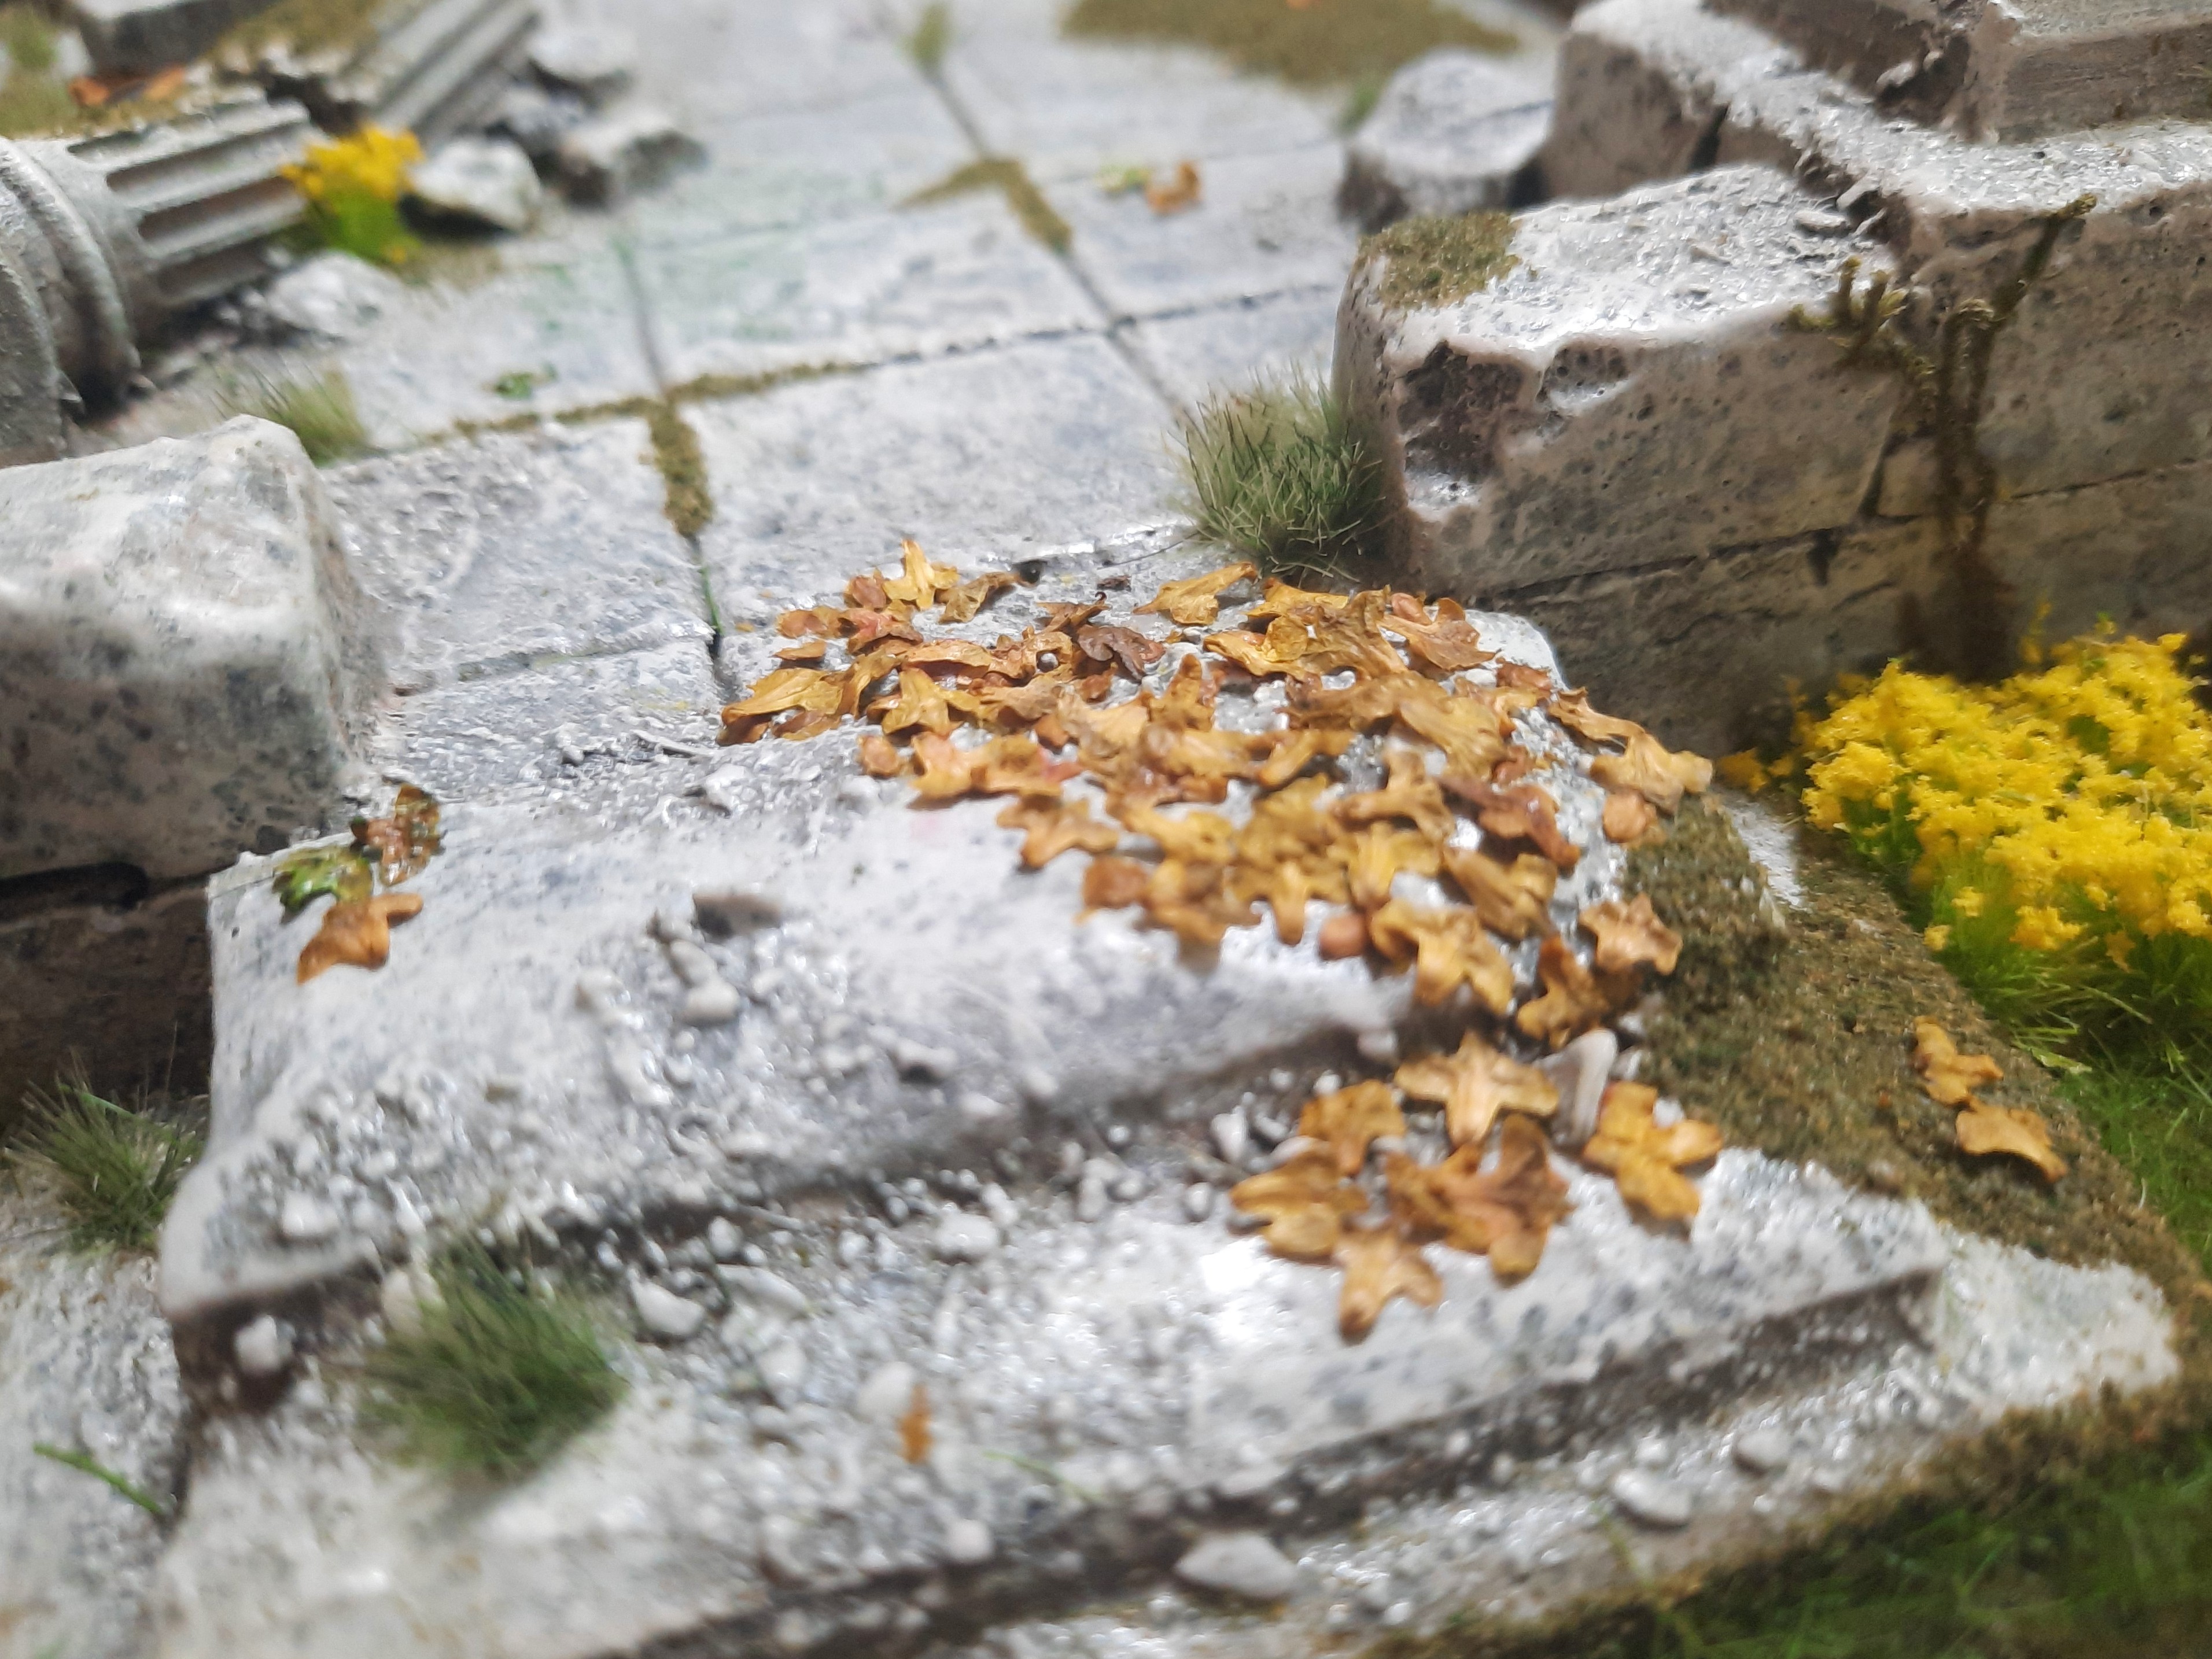
The leaf scatter over the steps worked pretty well. I have four small pots of these leaves, and I went with autumnal leaves as to be honest that's what I'm used to; if you take a walk in the woods behind our house you'll be walking on layers and layers of dead leaves. I was a bit iffy about using brown leaves with green grass, but then I realised that even in the dead of winter when the trees are bare, the grass is still green.

There should be some evidence of prior attempts to kill Dewi, so this helmet and shield were glued in place to represent the poor sods who'd done their best but utterly failed. I stuck another helmet towards the rear of the temple floor.

I stuck a Citadel skull and a couple of resin bones from RBJ Games to the pile of ash, then painted it Black and drybrushed it with Neutral, Ash and Ghost greys. I also blackened the walls around it with lots of Nuln Oil to make them look scorched.


And here's Garrick approaching Dewi:

Poor bugger.

Garrick the Bold is a Reaper figure. He's also known as Sir Forscale because he's the mini Reaper uses to show the scale of their big models.
He was simple to paint, which is one of the reasons I bought him. He's covered with Iron Warriors, Nuln Oil, Leadbelcher and Plate Metal, and his shield and tabard are White and Park Green Flat. I knocked him out in under an hour, and I'm pleased with my painting. He's stuck to the temple with a couple of small dots of PVA and after I took the photos I removed him to be put on his own base.
So that's the temple finished and I'm well happy with it. Next up is some more sci-fi figures and scenery. Till then, take care!
Excellent finish to your ruined temple Matt, all the extra details you've added add to the story surrounding it, the only thing missing would be a Dragons horde to sleep on, but that could always be a separate piece of scenery for a later date.
ReplyDeleteThanks, Dave! I did think about doing some kind of treasure pile using more coffee grounds and glitter, but in the end I just left it off. Besides, Dewi has all his cash invested in the stock exchange LOL!
DeleteThis is brilliant, Matt! :-) Really does look the part! And thanks for including a picture of your kitchen table - Faust needs to pay attention to that and take note that it's what a proper modelling workstation should look like, instead of that clean, tidy place he has!
ReplyDeleteDamn it, I'm changing my name to Mr. Clean now!
DeleteThanks John! My painting table is in such a bloody awful state but it's reached a point where I don't know where to start clearing it up!
DeleteThis is marvellous. The amount of details is what makes this piece awesome. Fantastic work indeed!
ReplyDeleteThanks, Suber, I appreciate that! The details are my fave bits to do.
DeleteWell, if you ever lose your job as a terrain builder, you can always go into writing short stories for Fantasy mags! I think it turned out pretty great, and looks like it was worth all the stuff that goes into it that most people would never understand. But man oh man, PLEASE clean up that desk space, haha! So, I had kinda figured out on my own that flocking works best under static grass or other foliage, but I never knew for sure how to use it. Glad to see I was on the same track as you. Yours looks great, love the added moss and that static grass really stands up. The leaves look great too, are you using a hole punch with real leaves or something else? The ashen pile of bones is a super nice touch and looks really convincing. Only problem is, so much details and all, and my mind really started wandering with this one. I imagine you might have an answer "What is the dragon doing here?". I'm guessing it's not a lair, otherwise there would possibly be treasure or bedding there. Plus there isn't much protection being in an open area. Though it is a freakin dragon, so he probably doesn't have much to worry about on that account. Does the dragon have a separate lair and if so, why does it like to haunt this ruined temple? Just curious if there is more to the story that I'm missing! :D
ReplyDeleteThanks, Mr Clean! The leaves are some kind of seed pod; I bought four pots of them in different colours (spring, summer, autumn and winter) and they work really well. I do have a tendency to overdo the details a bit on projects like these but the details are the bits I enjoy the most.
DeleteI don't know what Dewi's doing in the temple, I guess he just likes it there LOL! I didn't put a lot of thought into why he'd be there, I just thought it would be a cool base for him.
Awesome Matt! Just thought I might be missing something. My guess is he just likes to look hella cool when he's roasting knights! Plus they will never find his treasure hoard, haha!
DeleteWhat an absolute triumph! I love the details, but the ash pile and moss are my two takeaways, just brilliant!
ReplyDeleteThanks, Michael, the idea for the ash pile came out of nowhere :-) Sometimes I plan ahead, but most of the stuff is off-the-cuff.
DeleteFor a place that has obviously seen carnage, dare I say it does look 'pretty'. Great use of the applicartor for your grass, but Iwould have liked to have seen a few bits of weeds/grass coming up in cracks or between flagstones too Great looking piece overall and what a centrepiece it makes !
ReplyDeleteCheers, Joe, and I have to agree it does look a bit too tidy. I'm so concerned with overdoing the details that sometimes I stop too soon...
DeleteWell that is stunning mate! an absolute triumph. you should be justly proud of that!
ReplyDeleteIf Garrick kills the dragon, he needs to make sure he gets the "fit" princess after taking that big bugger on!
Cheers Roger.
Thanks very much, Roger, but unfortunately there's no princess for Garrick LOL!
DeleteThis came out very nicely, Matt! I love the details you added including the grass, leaves, dirt, and Dewi's victim. It has a lot of life now and you can imagine the dragon making that temple its new home now very easily. I think your skills are improving with each project like this and I'm excited to see where you go from here!
ReplyDeleteCheers, Jeff! It was a lot of fun to build, paint and detail and the XPS foam is so bloody easy to work with that I can't believe I haven't used it before.
Delete