

I bought this bit of scenery over two years ago. Debris of War is based in the UK but I got around the shipping charges by having it sent to my mum's house and picking it up when I went to visit her in August 2018. Believe me, I am not the only person thinking, "Hey, why didn't you do that for the Summer of Scenery challenge instead of faffing about with that cottage?"
The simple answer to that is, I forgot about it until I found it while packing away my stuff in September last year. Anyway, this post is going to be in two parts because the piece is taking a while, I need to keep my fan(s) happy and I'm on a roll with posting and want to keep it going.

Here it is in all its bare resin glory. It's a decent size but lightweight and cost about $10. There's plenty of rugged detail in it and it sits straight. There is a bit of a mould line running up the sides and across the top, but it's not bad enough to make me want to scrape it off.

Here's the primed ruins, with a friendly neighbourhood axe cultist to give an idea of scale. I used black primer because I thought it was the obvious way to go, what with all the grey drybrushing I'm about to do.
But then I decided to look up tutorials on painting stone walls and found a really good one. The bit of wall he paints is way smaller than mine, but the technique looks very effective so I decided to give it a go. The first thing I had to do was plaster the stones in tan, which I don't own, so I used khaki.
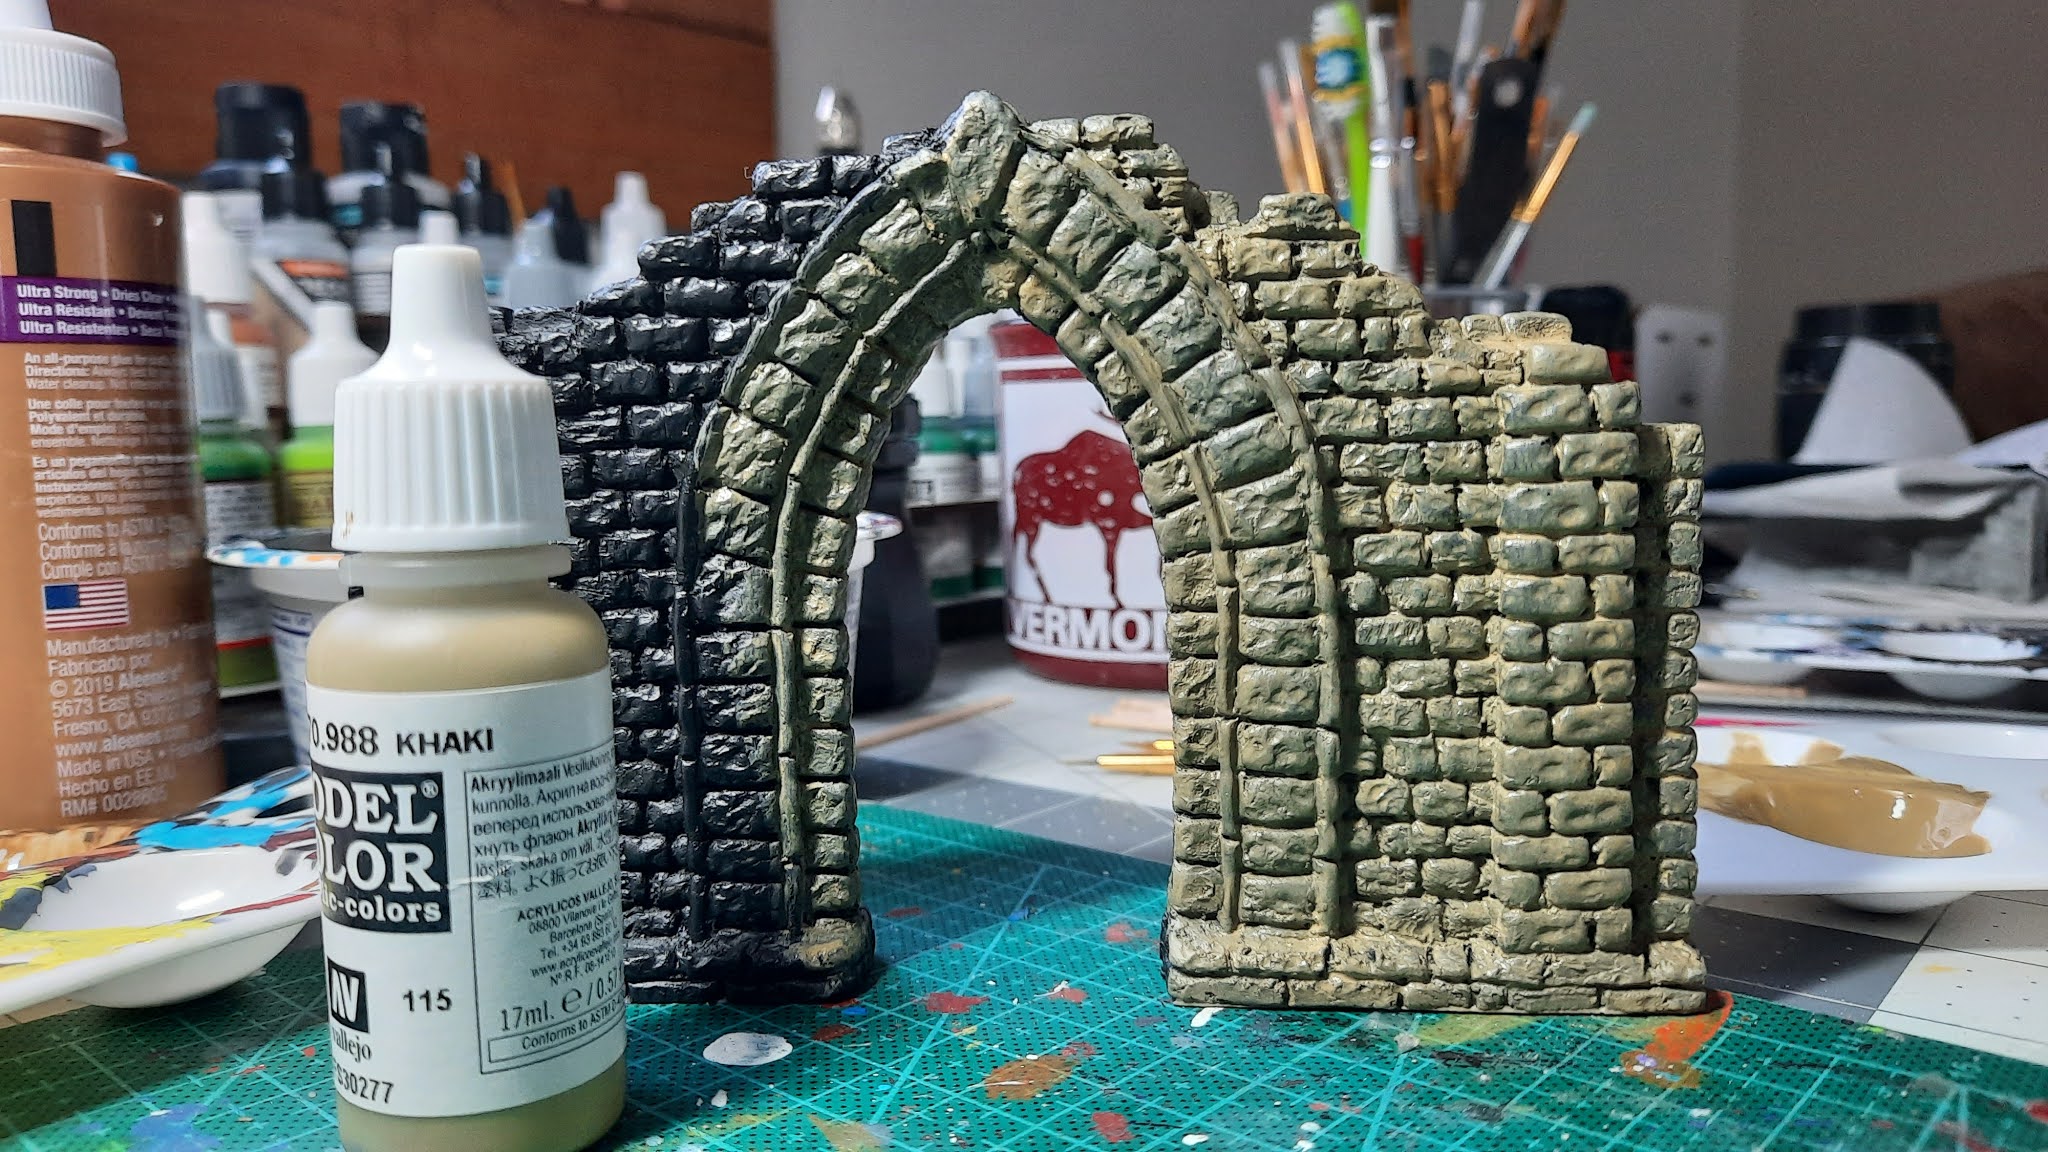
I'm halfway through the first coat, slapping it on with a crappy Michaels own-brand size 6 brush. According to the tutorial you're supposed to fill the gaps between the bricks, which is great fun as they're pretty deep. I'm halfway through the plastering process and once it's done I'll need to give it another coat.

Husq pops in to check out the redecorated ruins. The coats of khaki didn't take too long and it actually looks OK, despite being the last colour I'd expect to paint ruins and I've seen a lot of ruined castles and abbeys in my time.

The next stage is to use a neutral grey and a warm brown to paint over random bricks. Here's the random grey, although I should have done a few more on the long thin stones surrounding the arch (I'm sure there's a technical term for them). I'll add some more as I go, and then it's time for the warm brown colour, for which I'm using Vallejo Golden Brown.
That's it for now, so tune in at some unspecified date for the next thrilling installment of "I know the tutorial says to do it this way, but really?"
Part 2 of this thriller is over this way...
Well colour me intrigued! I thought you would have dry-brushed the Khaki before you added the grey and brown. Look forward to seeing where you go with this impressive piece next.
ReplyDeleteI haven't followed the link so I don't spoil the surprise!
I'm enjoying the regular posts by the way.
Cheers Roger.
Glad to know you're enjoying the posts, Roger, although there will be a break as we're going to New Hampshire for three days starting today. All I can say is God help our dogsitter.
DeleteThe tutorial definitely says to put the random brown/grey on before shading and drybrushing — I even watched it three times to make sure I got the steps in the right order :-)
A very interesting start Matt, shall watch with interest to see how this turns out
ReplyDeleteI'm also interested in how it'll turn out :-) I was surprised at the khaki/tan basecoat over the primer, but the finished example in the tutorial looks great so I'm hoping it'll work on this model.
Delete