

Although I can't abide spiders, I bought this not-so-mini because it looks cool and is something different to paint. I picked it up during my last visit to Brookhurst Hobbies, about a week before we left California. I actually bought quite a few figures during that visit, but the majority of them are in storage.

Here's the unpainted throne, sans queen. It's a two-piece plastic job, with the throne and ground bit attaching to the spider-shaped back. Luckily this model is made from the newer, harder Reaper Bones plastic, so nothing was bent and the mould lines were easy enough to carve off with a new blade.


The back and front have a chunky tongue-and-groove join which didn't fit too well and left some pretty major gaps. Why Reaper didn't just do four pegs and holes is beyond me. I spent a good 30 minutes filling the gaps with greenstuff and totally forgot to take a photo of the awesome job I did.

Once the greenstuff was dry the throne got a good coat of Vallejo Black Primer. The throne is the sort of larger model for which I bought my airbrush, but that's in storage so it was a case of slapping on the primer with a large brush. It didn't take too long, and once dry I gave it another thin coat. It's a shame because if I had the airbrush, I could have tried out some zenithal highlighting.
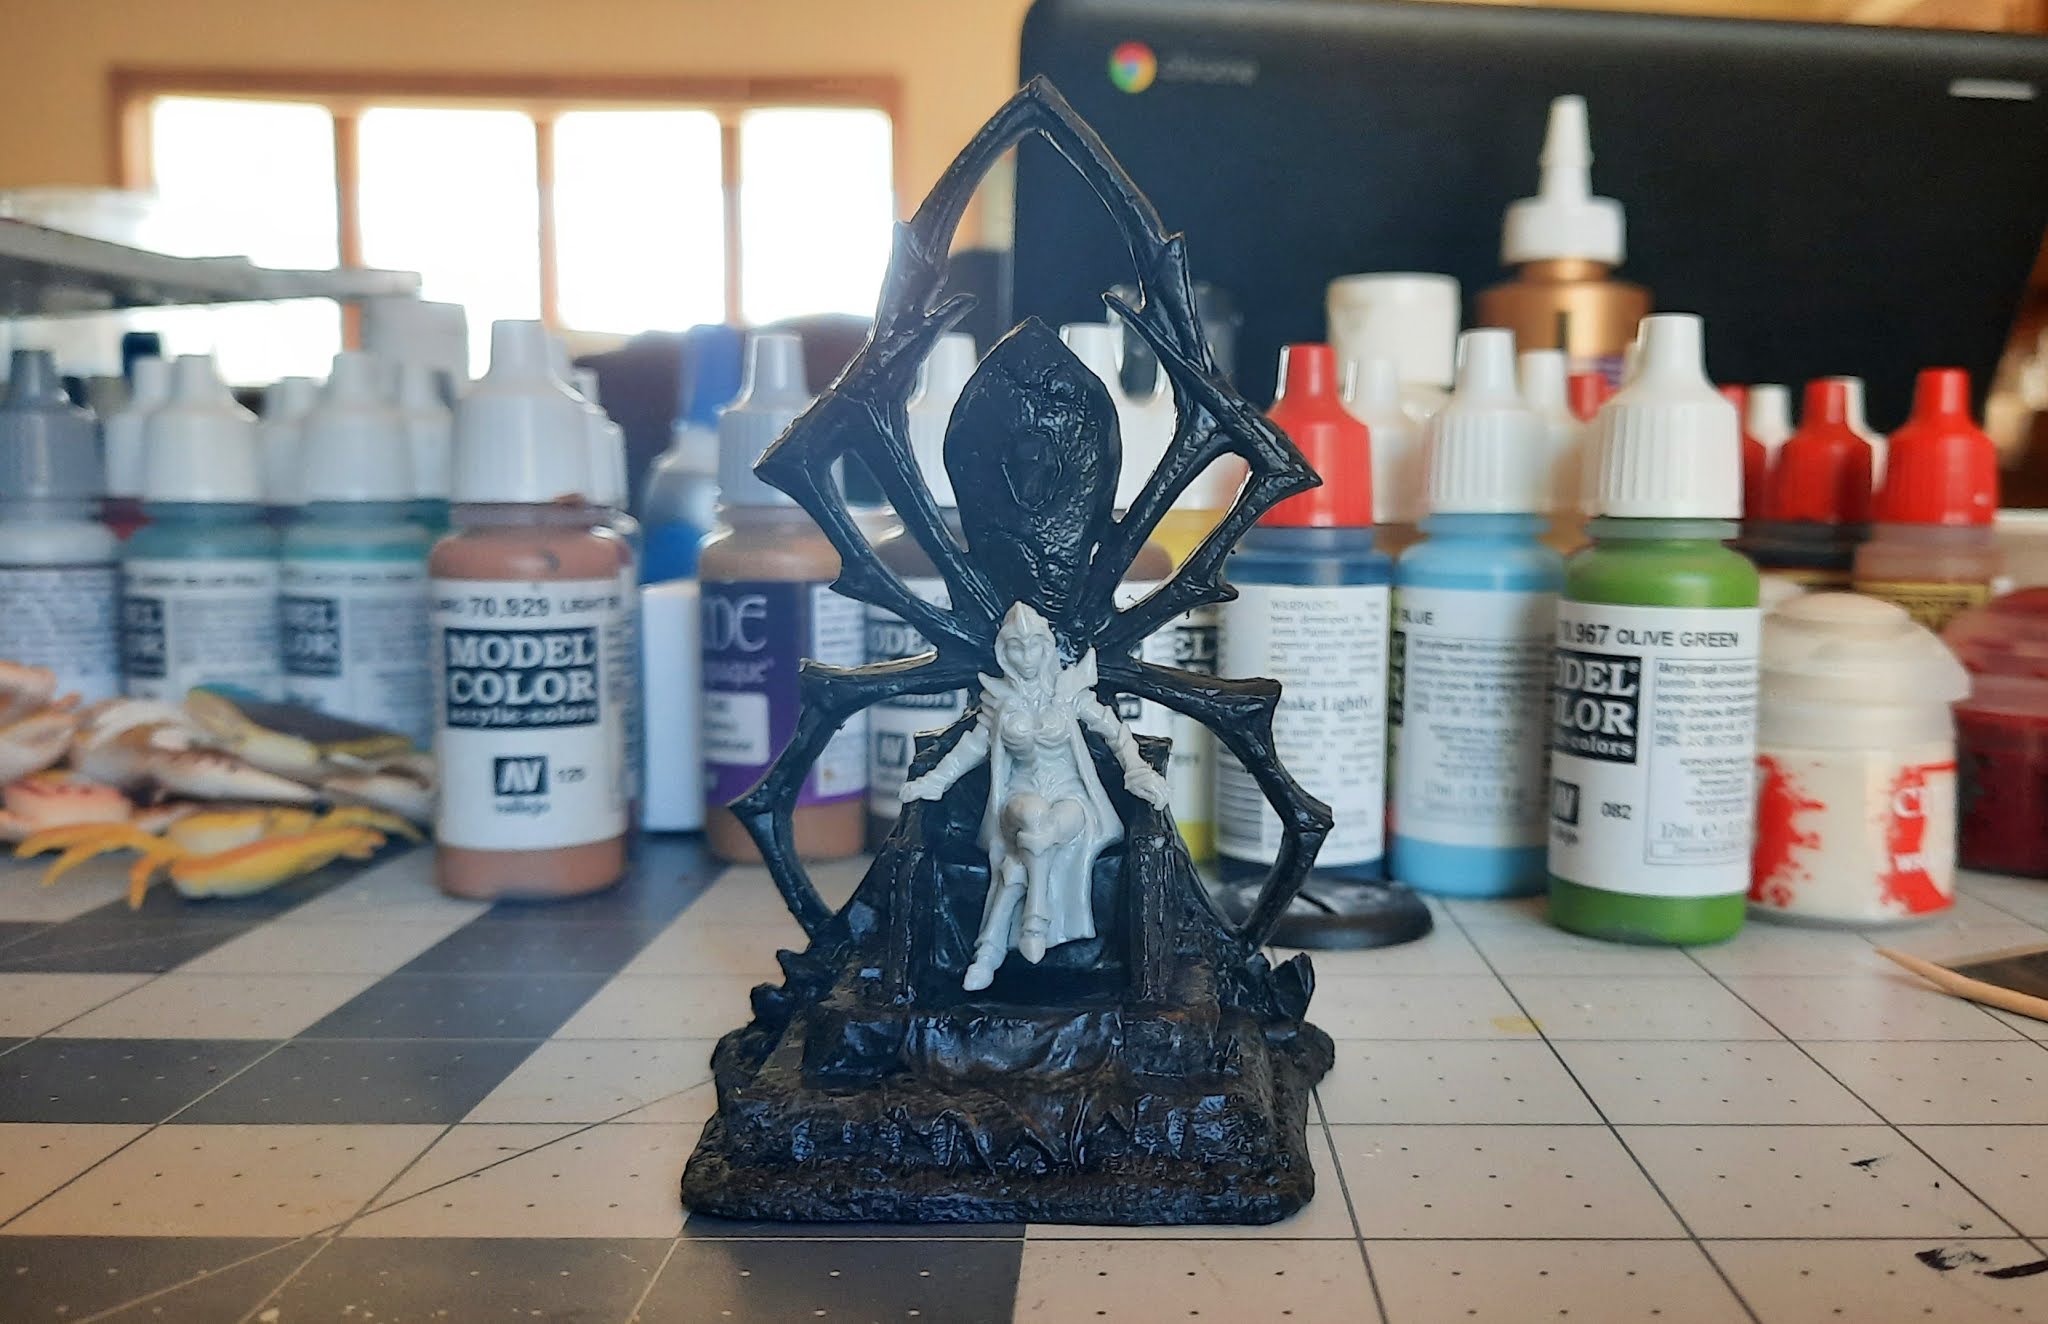
Here's the queen sitting on the throne. She isn't painted yet because she also needs some filling (oooer!); her legs are a separate piece and don't fit too well. And if I had painted her, you wouldn't be able to see her.

You can just about see the greenstuff between her leg and cape. Filling the gaps on the queen didn't take too long, and shortly after she was also given a coat of black primer.

The thone's been given a heavy drybrush with Sombre Grey and then a lighter drybrush with Dark and Neutral greys. The queen has had one coat of Red Violet, and even at this early stage I'm having my doubts about the colour.

More light drybrushing on the throne and base with Army Painter Ash Grey and Vallejo Ghost Grey.

The whole model has been given a wash with Soft Tone to add some colour and then another drybrushing with Ghost Grey to bring back the highlights. I've also made a start on the crystals, going for red on the base and purple on the throne. The crystals were the only bit of the whole thing that worried me, and I was right; they were a pain to do.

A side shot showing the base. I filled the larger cracks with black to make them appear deeper.

Oops, I'm pretty sure I've missed a stage. The crystals took longer than the entire throne thanks to me not being able to understand the simple tutorial I found, and so I had to repaint them about four times. The cloth was given a couple of coats of Red, then highlighted with Carmine and Vermilion.

Oh god, the queen. The Red Violet wasn't working so she got repainted Violet. Painting a dark colour onto a black primer is always fun as you can barely see where the violet is going. Once I made sure I'd got all her armour, I used Ultramarine Blue to highlight and then a ton of Purple Tone to tone down the highlights.
Her skin is Frozen Flesh highlighted with Pale Flesh, and the crown thing is just Red with a Bright Orange highlight. By the time I got to that point I was utterly done with painting her and just wanted to finish her off. Her cape is just black with a couple of quick layers of Violet. She really was an utter pain in the arse to paint.

Here she is, sitting on her throne, and in daylight she looks a lot better. I'm really happy with how the throne turned out, even with the crappy crystals, and the cloth looks great.

A side view. The queen is held in place by a plastic tab, and I had to trim it down so her feet would actually touch the ground. I think she popped up a bit before I took this pic.

I had to crop Cadbury's nose out of this shot.
Great work on an interesting looking model Matt, crystals can take some getting used to, when painting ones with flat sides you want a dark and a light shade of the colour, then paint a ying and yang type shape with the darker colour being at the top, once this is dry you can then add a glaze in the lighter shade ( for red I use yellow) then in the dark shade add a white dot towards the top of the shape. repeat for all the panels, once all this is dry apply thinned down off white to all the edges especially at junctions where multiple panels meet, you can leave gaps on lower sections to represent light catching the higher areas. Once dry apply gloss varnish all over the gem
ReplyDeleteCheers, Dave! The crystal tutorial I found was pretty straightforward but I could not get the hang of the technique. The crystals were the only bits of the model I was worried about, the rest of it was a doddle. I'll try your way the next time I have some.
DeleteVery nice matt, that is a pretty impressive model and very nicely painted, I would have been happy with the Red/Violet colour on the queen, but I think you made the right decision going with the purple instead. I struggle with crystals too by the way.
ReplyDeleteCheers Roger.
Thanks, Roger! I had high hopes for the Red Violet but it was taking so many coats to cover the black that I just went with a darker colour. I do kind of regret it now, as I think it would have worked better and tied in with the red cloth.
DeleteGreat work, Matt...
ReplyDeleteBut... did you forget your login info or soemething? It's been over a month! Post something, man!
We moved into our house and all my stuff is in a box in the garage, which is full of boxes. I'm trying to dig it out but I have a feeling it'll be in the last box I find...
Delete